 |
Use magnets without metal plates to
hold ribs in a vertical position. This is a task that was much more
tedious with pins. Arrange the magnets such that they attract to each
other and clamp the rib in between.
Adding the metal plates makes the magnets
much stronger and they are good for applying pressure when needed.
Ceramic magnets are very fragile and break easily — treat them gently.
|
 |
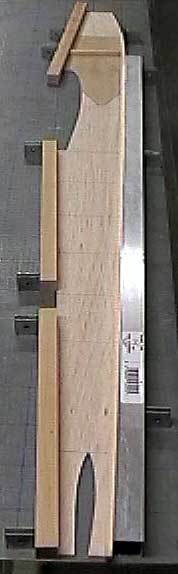
Magnets are being used to hold three
laminations of 1/16" x 1/4" balsa to the balsa core. The magnets
without the plates are simply padding — scraps of wood could have been
used instead. The clamping pressure is being applied by the
magnets with the plates attached. |
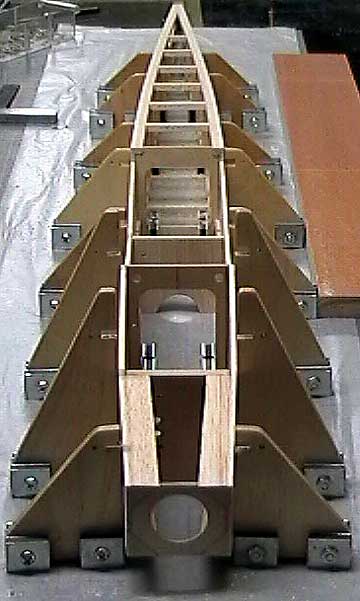 |
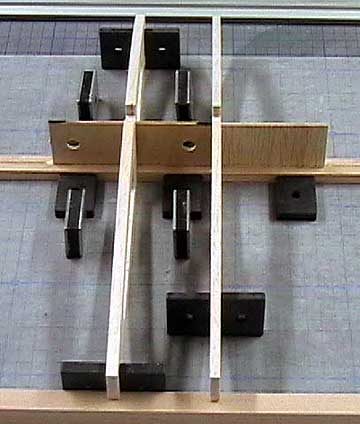
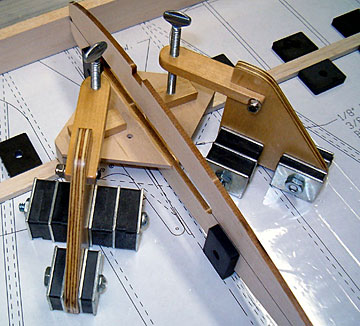
These Fixtures
are wonderful. With each magnet having 12 lbs pull, these
fixtures stay firmly in place. The best way to remove the fixtures is to
tilt them sideways rather than trying to slide them off the board. |
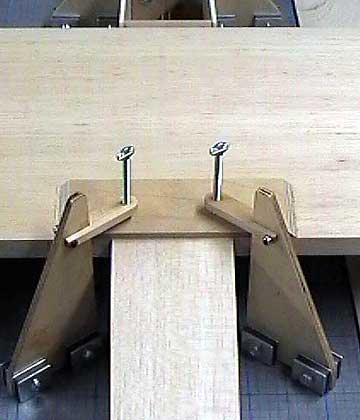 |
The
Vertical Press attachments are easy to make and greatly enhance the
functionality of the fixtures. The presses can lift the
fixtures from the board. I have a "monster" fixture having extra
magnets in the front so I can really crank down the presses when needed. |
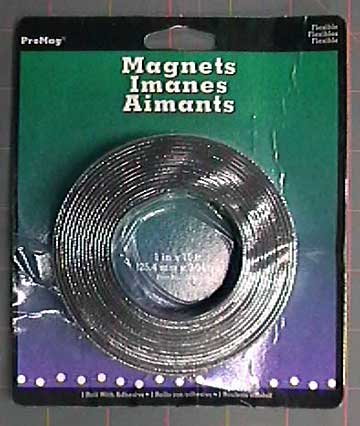 |
I found rolls of self-adhesive magnetic
strip in the craft section at Wal-Mart for less than $3.00.
They carry two different widths at the local store. You can also
purchase magnetic strip from the Magnet Source while you are placing your
order for the other magnets.
These strips can be attached to a variety of items that can be used with
your board. |
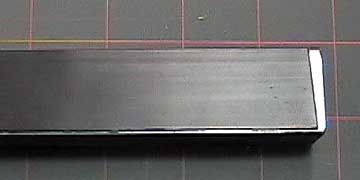 |
This aluminum extrusion now has a strip of magnet on it.
I frequently use straight edges to align parts as I lay them on the
board as shown
here and
here. |
 |
The square extrusion on the right side of
this photo did not have the magnetic strip attached when this
photo was taken. It is being held in place by magnets to the right
of it.
Your local hardware store or places such
as Home Depot have a variety of extruded shapes to choose from. |
 |
Use a few fixtures to hold the wing up for hinging.
The trailing edge of this wing is being
fiberglassed. A few scrap pieces of foam or a folded paper
towel between the fixtures and the wing will prevent any possible
damage. |
 |
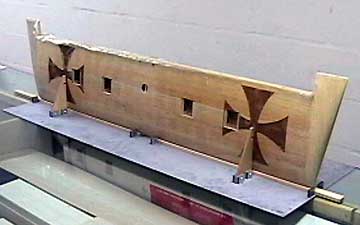
This is a
Doodlebug 330 Control Line model
designed by "Wild" Bill Netzeband. The profile fuselage is held
absolutely perpendicular to the board using strategically located
fixture pairs.
The horizontal stabilizer is being glued in place. To ensure it
is perpendicular to the fuselage, two scraps of balsa were taped
together and cut to the correct height to hold the stabilizer parallel
to the building board while the glued dried.
The balsa fixtures are held in place by a pair of magnets arranged
such that they attract to each other and clamp the balsa between them. |
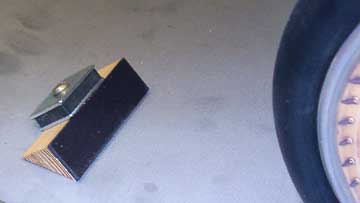 |
An idea I came up with recently is magnetic wheel chocks.
On several occasions I've had the tail end of the fuselage roll off the
edge of the bench when I was working on the other end causing some nasty
hangar rash. |
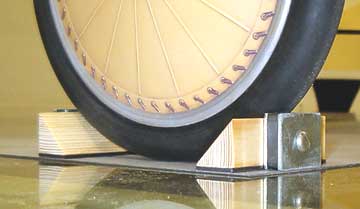 |
These wheels can not move the chocks. When
significant enough force is applied, the wheels will eventually jump the
chocks. The chocks don't budge. Note that the wheel
chocks I make are taller than these (1" instead of 3/4") and have two
magnets per chock. |
 |
For most model-building purposes, a fixture with four
magnets and a
vertical press will provide plenty of clamping pressure.
However, if you really want to crank it down, the front of the fixture
will lift from the board and all clamping power is lost. The
solution is easy — add more magnets to the
front of the fixture. All you need is a longer 10-24 bolt and more
magnets. |
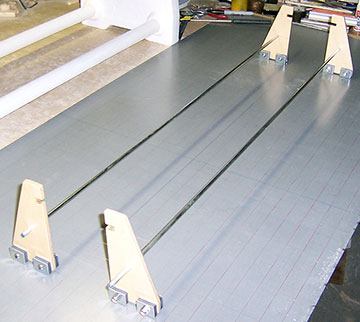 |
Wayne O'Craig sent along this neat idea for a wing jig. Maybe this will help all those
folks who keep e-mailing me asking where they can get an
Ajusto-Jig. |

