 |
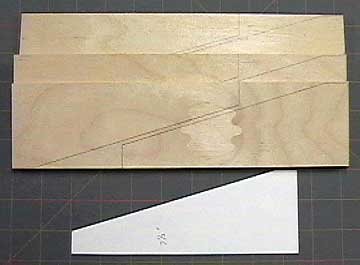
Determine the sizes you want to make and cut cardstock
patterns. If you have power tools, then you should probably make
several of each size while you have your tools set up.
I have found the most useful size to be 5-1/2"
so I made about a dozen of them. I already have plenty of the sizes
listed above, so for this tutorial I am making 7-1/2" tall fixtures.
Note that all measurements are from the
top or bottom and the front face. What this means is that no matter
how many different size fixtures you make, the tools will have the same settings.
This will make more sense as we move along. |
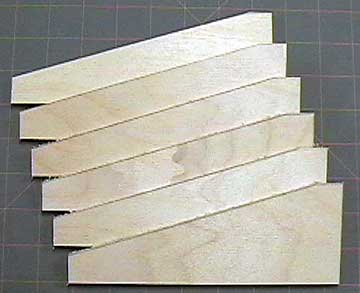 |
I use my scroll saw to cut the
fixture blanks. Before moving to the next step, be sure the front
face is sanded flat and that the bottom edge is square to the face. |
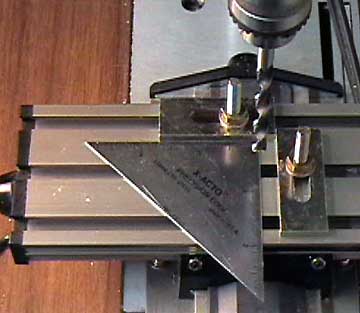 |
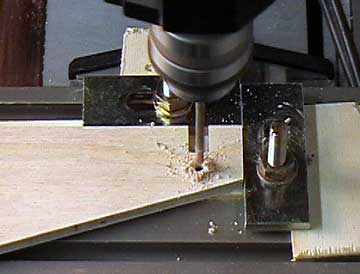
If you have a drill press, then by all means use it. Before I had
this nice micro-adjustment table, I used to make a 90° corner by
gluing a couple of scraps of wood to the table with CA.
When
finished, I slip a single edge razor blade under the scrap to
remove it. Waxing the table helps it pop off easily. |
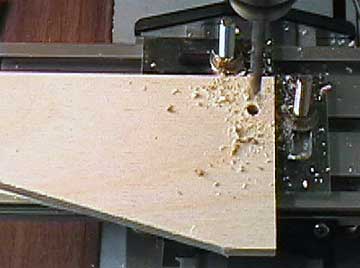 |
Slide the fixture into place and drill the
magnet mounting holes. |
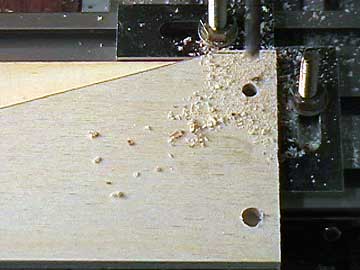 |
Drill one hole 1/4" and the other 3/16".
It does not matter which hole is larger. The oversize hole allows
the fixture to be squared to the building board. |
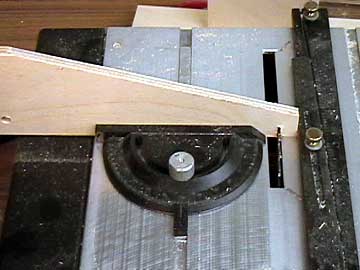 |
If you do not anticipate needing
vertical presses then you can skip straight to sanding the fixtures for the
finish. However, it is easiest to do the work now, so I suggest you
go ahead with it. Set the blade on your table saw to the depth shown on the drawing.
Set the fence so the cut is proper distance from the top of the fixture.
Make this first cut on all the fixtures before moving the fence to make
the second cut. I recommend that you make the cut-out
undersize at first and then make fine adjustments to the fence to zero
it in.
Move the work slowly through the
saw to reduce tear-out on the back side.
It is helpful if you've already made the
vertical press attachments so you
can check the fit. |
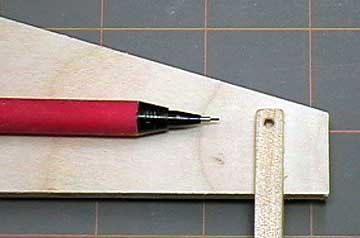 |
After you've made the vertical presses, slide one on the fixture and mark the
hole location. If you set up power tools as I have done, then
all the holes and cut-outs in the fixtures should be accurate enough
that you only need to mark one fixture. But it is not a bad idea to
check them all just in case. |
 |
Set up your drill press again using the
pencil mark. Drill the holes to mount the vertical presses in all of the fixtures. I
use 2-56 bolts to mount the vertical press so these holes are drilled 3/32". |
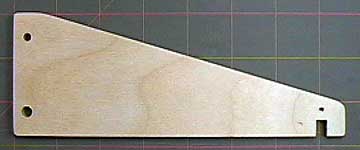 |
All that is left to do with the fixture is prepare it for finish.
Sand it smooth and knock the edges off all the corners. Pay
special attention to the front face so that there is nothing sharp or
jagged that can damage your model.
I brush on 2-3 coats of flat lacquer and
rub out the final coat with fine steel wool (#0000).
If you are messy with glue, then you may want to use furniture wax on
the front edge of the fixture to prevent gluing it to your plane unless
you need speed brakes anyway. |
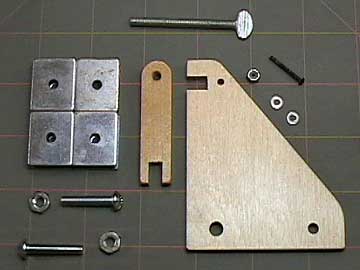 |
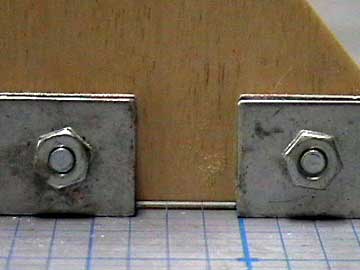
All the parts for one complete fixture assembly. Four magnets are
held in place with two #10 x 1" bolts and secured with hex nuts.
Packages of 100 nuts and bolts can be purchased at places such as Home
Depot. One 2-56 x 1" socket head bolt with two #2 washers and a #2 lock
nut are used to secure the
vertical press to the fixture. Hardware
is available from
Micro-Fasteners.
The thumbscrews were the most expensive piece of hardware at
approximately $0.70 for a pair of them. You only need a handful of
them though. |
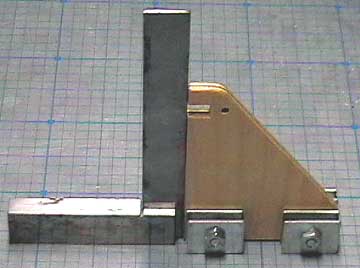 |
The oversize hole allows the fixture to be
squared to board easily. Lightly snug the hardware initially and
use a good square to align the fixture. When you are satisfied,
tighten it down. Do not over-tighten the bolts. The magnets are brittle and will break. |
 |
Note that the fixture is raised above the
board. |
You'll need (2 ea) 10-24 x 1" bolts and nuts to attach magnets to the
fixtures. Washers aren't needed 10-32 bolts are larger in
diameter and do not fit through the holes in the magnets.
The vertical presses are held in place with a 2-56 bolt, washer and lock
nut. In most cases the press doesn't need to be bolted to the press.
Just slide it on and use it.
The press part of the vertical press is a 10-24 x 2" thumbscrew (or whatever
bolt head shape you feel most comfortable turning by hand).