Airfield Models - Apply Fiberglass Cloth

Apply Fiberglass Cloth to Small Parts

December 19, 2021


Home
About
What's New
History
Models Gallery
Model Building Safety
Articles
Mail & FAQ
Site Map
Site Feedback
Contact
Add to Favorites
Comments
Search Airfield Models

Back to Fiberglassing


Airfield Models (http://www.airfieldmodels.com/)How to fiberglass small parts

This is Part 5 of a multi-part article describing how to apply fiberglass cloth to a model aircraft.

  • Part 1 of this series describes advantages of using a fiberglass base and recommended cloths to use.
  • Part 2 describes resins and squeegees.
  • Part 3 describes the fundamentals of applying the cloth.
  • Part 4 describes how to fiberglass a wing.

You should have a good understanding of both Parts 1 through 3 before continuing.


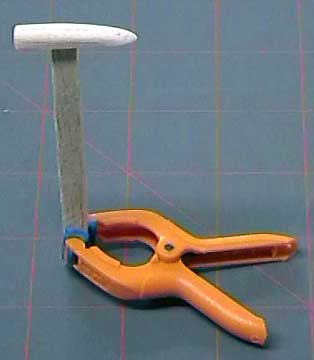
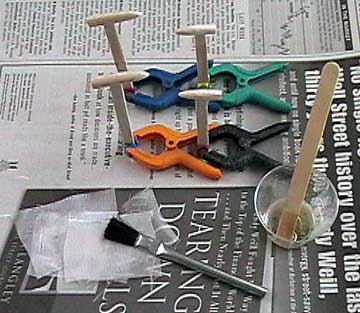
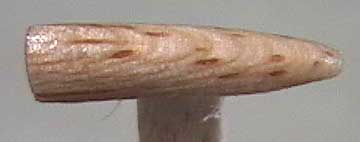
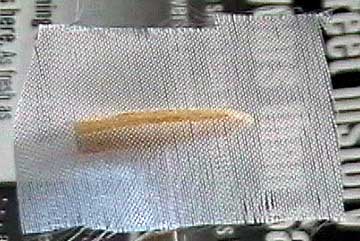
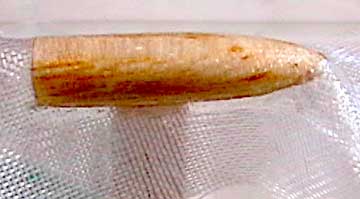
Glassing small parts

Applying glass to very small parts requires a different approach than has been presented in previous articles of this series.

One thing that you should know before you do this is that it is often not necessary to actually put cloth on parts this small.  Instead, a coat or two of resin can be brushed on to seal the grain and make the base the same as the rest of the plane.

The only real advantage to using cloth here is that it adds some strength to the part if needed.  In the case of the fairings shown here, the cloth allows the exit to be sanded much thinner than what it was before the cloth was applied.

Tack glue small parts to something that can be used as a handle. These are small pushrod exit fairings that are carved from balsa and approximately 3/16" square by 1" long.  The fairings are tack glued to a small stick so they are easier to work with.

Tack gluing simply means using a small amount of glue so it can be broken loose later without causing a lot of damage to the part.

Small scraps of glass cloth leftover from other glassing operations are perfect for small parts. Cut-off scraps of fiberglass from other parts are good to use here.  Instead of applying the cloth and then applying resin, I do exactly the opposite.
Apply resin to the part before putting the cloth on. Using a cheap disposable brush (acid brush used for soldering) brush on a small amount of resin.
Put the glass cloth over the part and work it in place using a blotting motion. Lay the piece of glass over the part.
The glass cloth may not stay down in some areas.  Try to work it down as much as possible and let it cure.  Cloth that isn't adhered can be glued down using thin CA after the resin has cured. Use the brush to work the cloth down using a blotting or stippling motion.  Notice that the cloth towards the front is not staying down.

A quick snip with a scissor up to the tip of the part will allow the cloth to go down.

In the worst case, if the glass will not stay, do not sweat it.  After the resin has cured, put a drop of thin CA between the glass and the part and press the glass down.  It will adhere instantly.

This installment wraps up this series of articles.  If you have questions or something is not clear, please contact me.

Also see


Previous —
Next —

Apply Fiberglass Cloth to a Model Aircraft Wing
How to Silk a Model Aircraft Wing

Comments about this article


Back to Fiberglassing
Airfield Models Home


Copyright © 2004 Paul K. Johnson