 |
This model has
pull-pull controls on both tail surfaces. Therefore, the exits are
relatively small. Shown here are the two rudder cable exits. The holes
are drilled in the upper
fuselage using the
pushrod
exit drill guide.
1/8" inner pushrod material is glued in the exits and sanded flush with the
fuselage exterior.
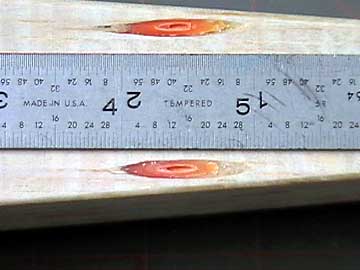
Measure the length and width of the exits and select an appropriate piece
of balsa to make the fairings from. Make the fairing a little on the
long side to begin with so you have some leeway in getting the shape right. |
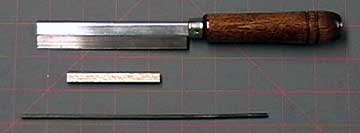 |
A variety of tools can be used to hollow the fairing. I use a round
file, but sharpened brass tubing will work. In a pinch, a
standard twist drill bit can be used as a file on balsa. |
 |
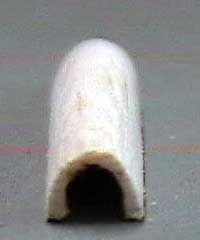
Cut the groove at an angle inside the fairing. The
exact angle is not really important. Just be sure that it is deep
enough that the fairing will not interfere with the pushrod or cause it to
bind. |
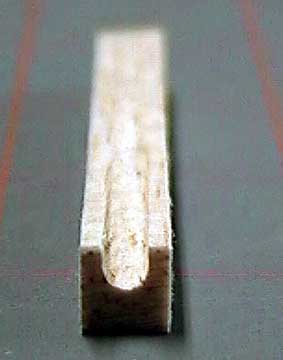 |
Here you can easily see the angle at which the groove was filed. This
probably took all of two minutes to do.
|
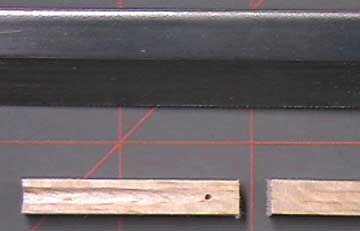 |
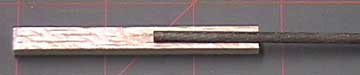
The black dot indicates where the groove ends. It
is there simply to make it easier to see in the photo. Otherwise
there is no reason to mark this spot. Giving yourself some room
to work, saw off the excess wood. |
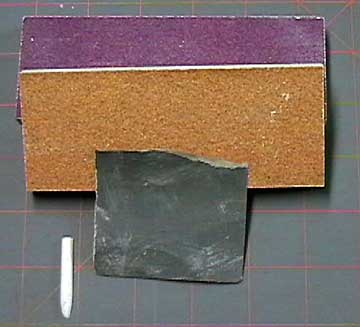 |
In this case, smaller sanding blocks would have been more
appropriate.
The wet or dry paper is 800 grit. Believe it or not,
even paper this fine will remove a lot of wood quickly. |
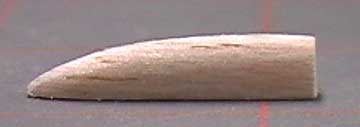 |
The 800 grit was not fine enough to remove all the fuzz,
but at this point it is good enough to finish, so I did not bother going
to finer grit paper. A nice streamlined shape is always
attractive. |
 |
One problem I ran into the first time I made fairings was
that I shaped the outside first. It was difficult to cut the
groove without damaging the fairing. I learned that shaping
the outside around the inside is a lot simpler. |
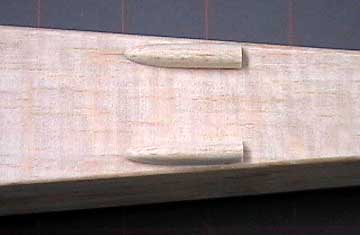 |
Here you can see the two fairings placed over the exits.
They will be glued on after they and the fuselage are
glassed.
I have never tried to cover small fairing such as these with an
iron-on film. I am not sure how it could be done as they are so
small it would be an awkward endeavor.
Maybe a
piece of covering wrapped to make a loop with the adhesive sides ironed
together could be slid over the fairing. A heat gun can be used to
shrink it. That might make it shrink to a perfect fit, but I can not
say for sure because I have not tried it. I am
sure if you make them, you will find a way to finish them. It might
be best to paint them even if you use an iron-on
finish on the rest of the fuselage. |

