While I was stationed in Germany I found some 1/2" thick sticky-back neoprene foam rubber. I had no idea what
I would use it for but it just seemed like something that would come in handy. I never measured the sheet I
bought but I'd guess it was slightly larger than a standard sheet of paper.
I found it works great as a sander when applied to a hard backing. It's not used to sand things flat. It
works very well on convex surfaces and rounding over corners. For example, it's the perfect tool for finishing
block wing tips to remove facets left by hard, flat sanding blocks.
It's a fairly heavy material so I would avoid using it in my flying models but I can see places where a small bit
might be handy here or there. I'm not sure because I haven't done that, but it's another thing that just seems
like it will be the perfect material in some situation I haven't come across yet.
The problem was that I couldn't find more of the stuff and I did a pretty extensive internet search. Not too long ago
I received an e-mail from Tim Terry with a link asking me if it were the same thing I was looking for. I contacted the company
and asked if they could send me a few small samples of various thickness to see if it were the same as what I had
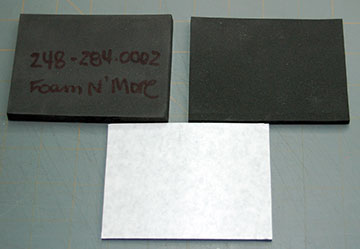
purchased in Germany. They sent me three pieces — 1/8", 1/4" and 3/8" thick. All have sticky back but it
is available without the glue. In fact, I think you have to specify you want the glue or it defaults to no
glue.
I'm amazed at the price of the stuff. A quarter-size sheet is more than most people would use and the price is
very reasonable. If you think you'll find this foam as useful as I do order a quarter sheet of 1/8", 1/4",
3/8" and 1/2" and split the cost with some of your building buddies.
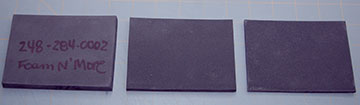
On the Sanding Blocks page I mentioned that I had come across some rigid 1/2" thick neoprene foam rubber in a hobby
shop in Germany. I didn't know where to get more.
Tim Terry sent me a link to Foam N' More who
carries exactly what I want.
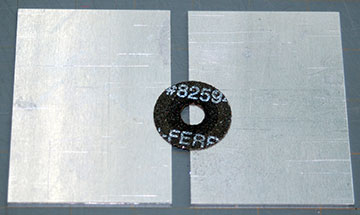
They sent me three sample pieces in three thicknesses. The pieces are
approximately 3" x 4" which means they were large enough for me to make sanding blocks. So I did.
You have to ask for the foam with the sticky-backing or it won't have it.
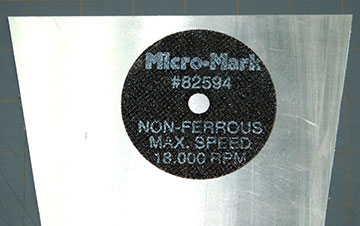
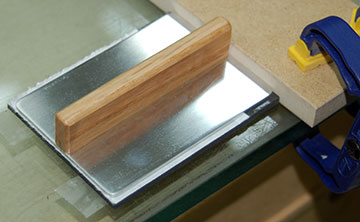
I used a cutting wheel in my
Microlux table saw
to cut the tempered aluminum plate. The aluminum is slightly thicker than 1/16" and plenty rigid for this
task.
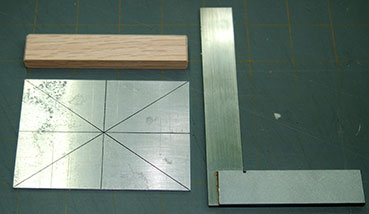
You don't have to use aluminum as the backing. Any hard, flat material will work. For
example you could use 3/4" oak or medium density fiberboard (MDF).
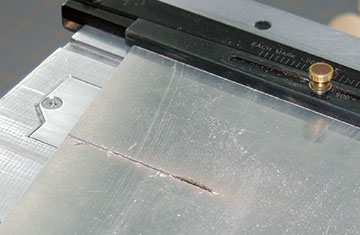
The cutting wheel in the table saw gave me extremely straight cuts much faster than if I used my
scroll saw.
The downside is that these cutting wheels wear down very fast.
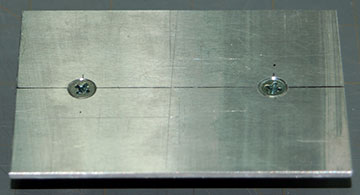
Clean the burrs off all edges so you don't get cut while working with the blanks. Draw
centerlines on both sides of the blank.
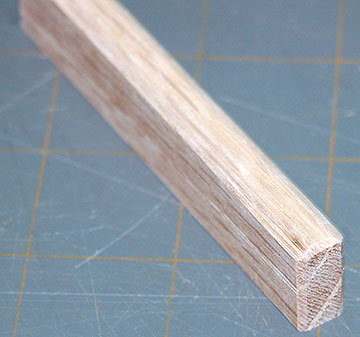
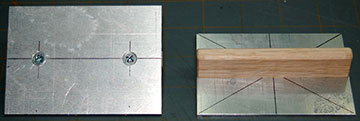
I cut a handle large enough to grip comfortably. All edges are sanded and chamfered.
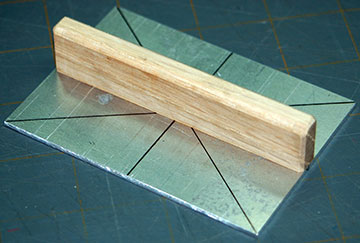
I used permanent double-stick tape to temporarily attach the handle securely to the blank.
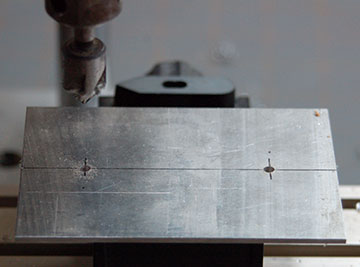
The sander is upside down with the handle clamped in my
drill press vise. Holes are drilled
for the handle-mounting screws.
The holes are counter-sunk deep enough so the head of the screw is level or slightly below the
aluminum face.
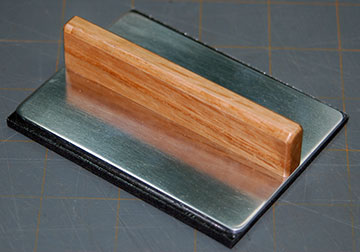
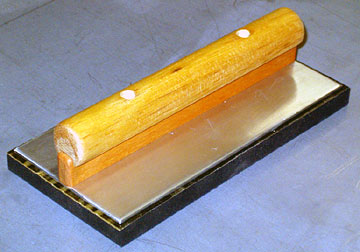
Both sanders have the handles attached. This is the best time to
finish the handles.
I finish sanded them, inserted the mounting screws about halfway and then dropped them in a bucket of lacquer
and let them soak for about 30 minutes. I then removed the handles and clamped the screws in my
extra
hands.
When the handles were fully dry I rubbed them with fine (#0000) steel wool.
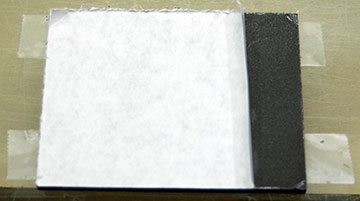
The foam has a slight curl to it which would make it difficult to precisely apply to the aluminum
plate. I put some removable double-stick tape on my bench and then stuck the foam to it with the
stick-back side up.
The protective liner is peeled back slightly.
A straight edge is pushed up against the foam. The aluminum is aligned with the
straightedge and centered over the foam. It is then stuck down to the exposed glue area.
You only
get one shot at this. The foam won't come back off without ruining it.
I picked up the whole assembly from the table and bent the foam back enough to get at the backing. I
then peeled the backing straight back over itself. The sander was set on the bench and firm pressure was
applied to finish the bond.
Before permanently attaching the handle I cleaned up the aluminum by rounding all
edges slightly, rounding the corners and cleaning the faces with fine steel wool and warm, soapy water.
Almost done.
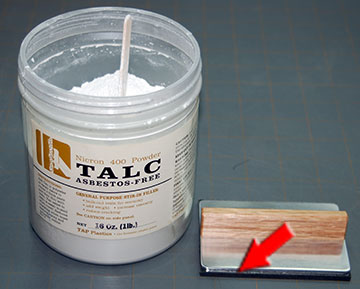
I deliberately make the foam too wide so the edge would round a little when the sandpaper is
pulled taut around it. This also leaves some adhesive exposed. I sprinkled on some talc to remove
the exposed stickiness.
Now we need to figure out what size the
sandpaper should be.
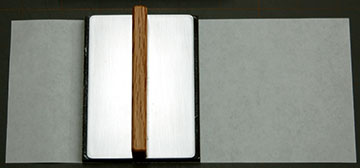
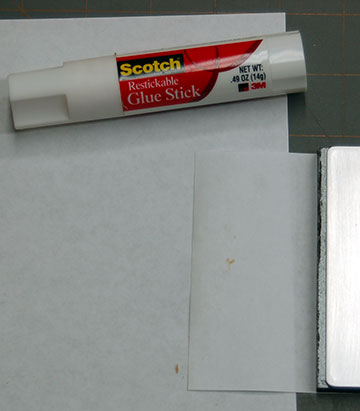
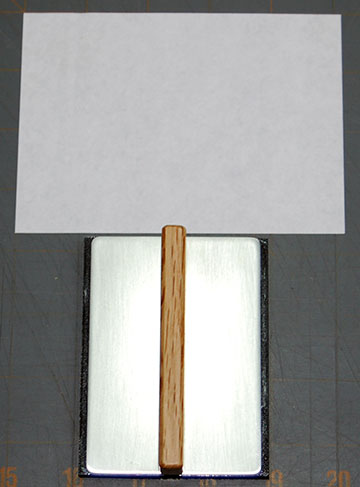
Start by cutting a piece of
paper to match the length of the sander.
Apply double-stick tape or removable glue stick to one edge of the paper.
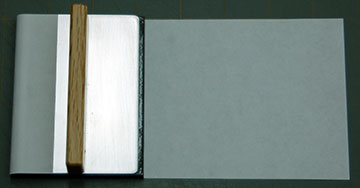
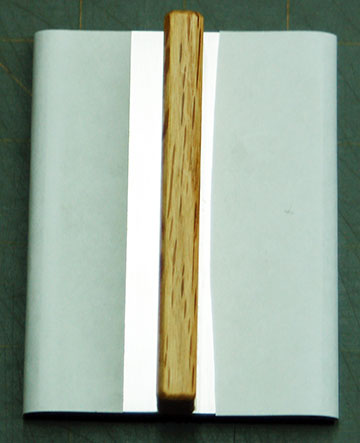
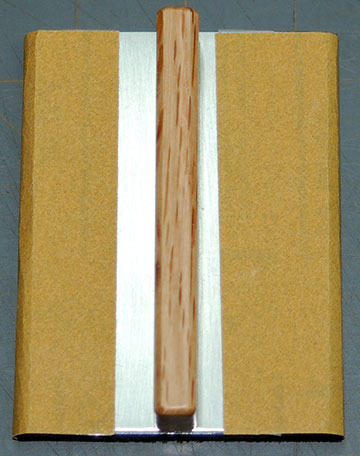
Stick the paper down on top of the sander. Wrap the rest of the paper under the sander.
Cut off most of the excess paper.
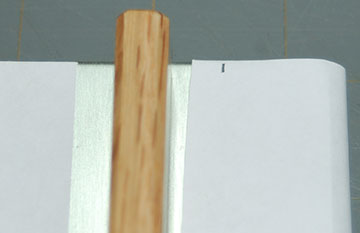
Mark where you want the sandpaper to end.
Cut the paper at the mark and that's the size piece of sandpaper you need.
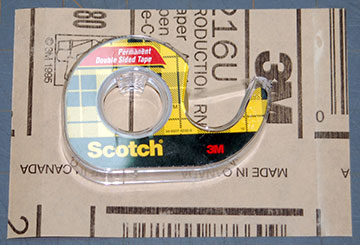
I use permanent double-stick tape to attach the sandpaper. One strip on each end of the
sandpaper works and my paper has never come loose.
One thing I do before attaching the sandpaper is
give the aluminum a quick wipe with acetone to remove anything that would prevent a good bond.
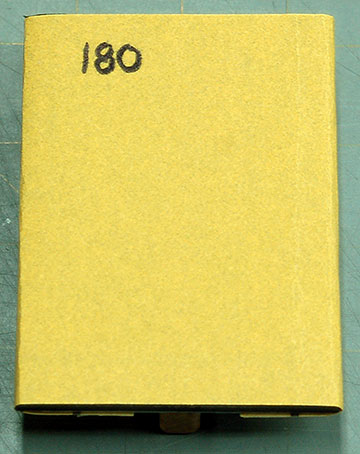
The sandpaper applied to the block.
I use a permanent marker to indicate the paper being used. The mark won't come off in use.
I used the 1/8" and 1/4" samples for the sanders I made. I didn't have enough aluminum to use the 3/8"
sample but I have used 1/2" and like it a lot so mostly I wanted to see how the thinner foam behaves. I
don't have a verdict on that yet but I know 1/2" is useful.