Airfield Models - How To

Damien Nott's Magnetic Building Board

December 19, 2021


Home
About
What's New
History
Models Gallery
Model Building Safety
Articles
Mail & FAQ
Site Map
Site Feedback
Contact
Add to Favorites
Comments
Search Airfield Models

Back to Magnetic Building System


Airfield Models (http://www.airfieldmodels.com/)Damien Nott's Magnetic Building Board

Damien Nott has been corresponding with me for several months providing progress reports of the steel building board he had made.  The board was recently completed and Damien will be using it with his next project.

The steel is painted, but I'm not sure what paint he used.  He mentioned powder coat at one point although I don't know if that's what he actually used.  Hopefully he'll let me know soon so I can pass it along.  I'm also curious about how well the paint will hold up.

Any further information that I receive from Damien will be posted on this page.


Text and photos are copyright Damien Nott

After reading Paul’s article Building With Magnets, I thought to myself 'Hmmm - that seems like a good idea.  No, wait - a great idea! I’m gonna get me a big piece of steel and use magnets.'  At the time I was working at our workshops, and decided to find an “off-cut” of 6mm thick steel to use as a building board.

After asking around, I was told that any steel thicker than 3 mm was stored outdoors and so was likely to be covered in surface rust, and therefore require considerable “cleaning up”, i.e. sanding or machining to get the surface anywhere near usable.  The other difficulty, I decided, was going to be the weight of the thing.  At 7,800 kg/cubic metre, a piece of steel 1,800 mm x 900 mm x 6 mm was going to tip the scales at 76 kg — way too much for my poor frail body to carry.  Not sure of what to do next, it was time to consult with the professionals.

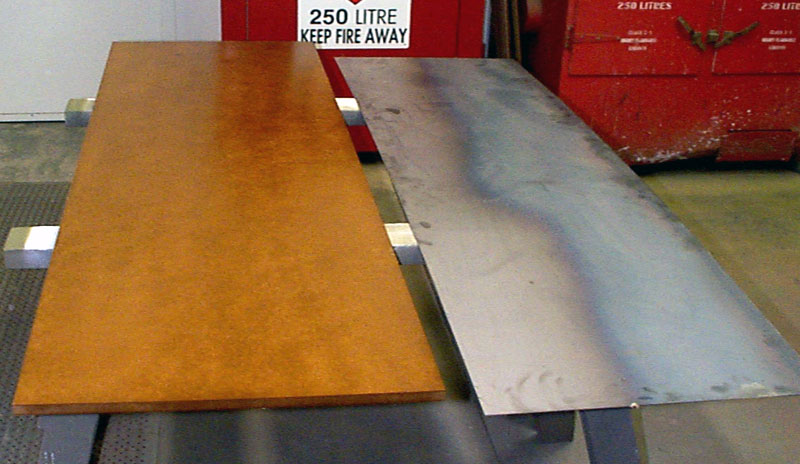
After talking to the shop carpenter and sheet-metal guru, I decided that the way to go was to use a 2mm steel sheet mounted on an MDF (medium density fibreboard) base 18 mm thick.  Once again I asked around for an off-cut of steel, and was given a piece 2,400 mm x 560 mm x 2 mm thick.

It was a little narrower than what I had hoped for, but 
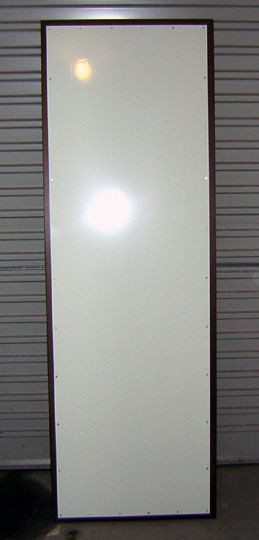
beggars can’t be choosers.  I then went to the local hardware store and picked up a piece of MDF 1,800 mm x 600 mm x 18 mm thick.  After bringing this back to the workshop, I headed for the paint shop to have the MDF sealed.


Below photos and captions are Copyright Damien Nott unless otherwise specified

This picture shows the MDF (left) next to the steel.  The MDF has been partially sealed with polyurethane - it still needs a coat or two.  The steel has been cut to length (1760mm) and has been marked for drilling.

This photo shows the steel lying on the MDF - just to give an idea as to what the finished board will look like.

A close up of one of the corners…

After having the MDF sealed, the steel was primed and painted white on one side.  It was then glued to the MDF with contact cement, and screwed down along the edges with #6 x 12mm countersunk screws about every 100-150mm.

This photo shows the completed board before I laid it on its table.  It weighs 30 kg, and is a little awkward to move around, but once it’s on the table I don’t plan to move it that much.

Finally, the board on its table, with some of my magnetic fixtures.

 The total cost of the board to me was around $25.00 Australian.  However, I was lucky enough to know the right people and I got my steel and all the paintwork for free.


Previous —
Next —

About magnetic steel building boards
Erik Jenssen's Magnetic Building Board

Comments about this article


Back to Building with Magnets
Airfield Models Home


Copyright © 2004 Paul K. Johnson