Airfield Models - How To

Repairing Thwing!

December 18, 2021


Home
About
What's New
History
Models Gallery
Model Building Safety
Articles
Mail & FAQ
Site Map
Site Feedback
Contact
Add to Favorites
Comments
Search Airfield Models

Back to Repairing Thwing!


Airfield Models (http://www.airfieldmodels.com/)Repairing Thwing!'s Leading Edge

This is the second part of an article describing the repair of Thwing! due to damage caused when the motor came loose from its mount in flight.

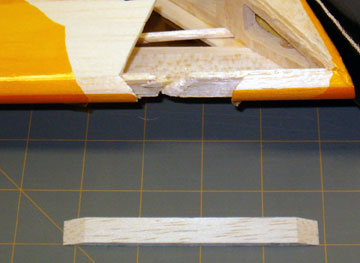
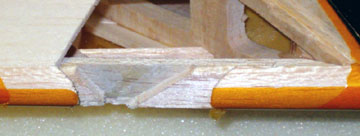
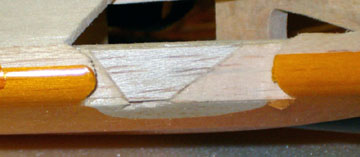
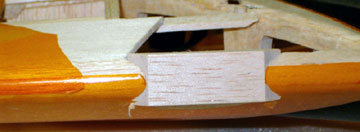
As I mentioned in the previous part, the leading edge must be correctly repaired for strength and accuracy.  It is one of the pieces that determines the alignment of the wing.

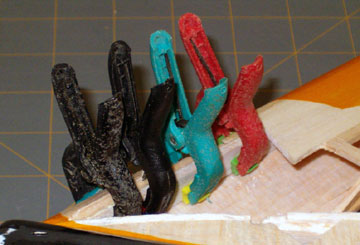
The wing remained straight after being damaged, so it's not difficult to keep it that way.  However, if the pieces are clamped together in a way that will twist the wing, then an unwanted warp will be introduced.


An appropriate piece of balsa is used to splice the leading edge back together. This piece will be glued to the back of the sub-leading edge to join the leading edge into one piece again.

I beveled the ends so that any loads imposed on this part will taper off rather than end abruptly and create a stress point.

In this case, it was purely optional because there are a lot of other pieces that strengthen the leading edge, but I did it anyway out of habit and for neatness.

The splice clamped in place such that the wing is not twisted or warped. While taking care not to misalign the leading edge, the joiner piece is clamped in place and left to dry.
A portion of the sub-leading edge is removed to make it easier to splice in a new piece. The sub leading edge was shredded (see first photo on this page).  It was cut back to create a shape that could be easily filled.
The new sub-leading edge splice glued in place. The filler piece glued in place.  When the glue was dry, I sanded it flush with the existing sub-leading edge.
The new leading edge piece spliced into place. The new leading edge filler piece is glued in place.

At this point I left the leading edge and went on to the next part of the repair.

I will sand the leading edge to shape after the new sheeting is in place.


Previous —
Next —

Repairing Thwing!
Repairing Thwing!'s Spar

Comments about this article


Back to Repairing Thwing!
Airfield Models Home


Copyright © 2004 Paul K. Johnson