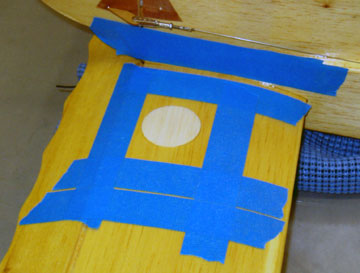
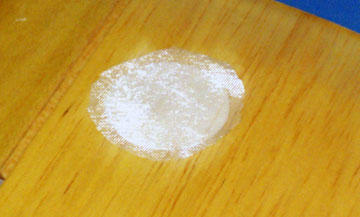
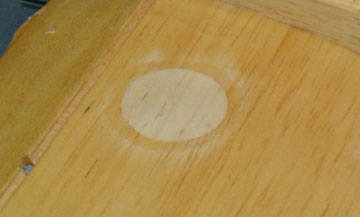
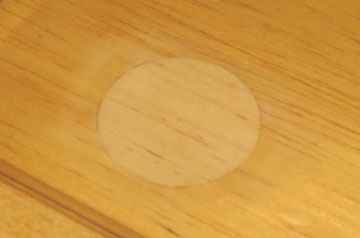
Airfield Models - How To

Repairing Rustik

December 18, 2021


Home
About
What's New
History
Models Gallery
Model Building Safety
Articles
Mail & FAQ
Site Map
Site Feedback
Contact
Add to Favorites
Comments
Search Airfield Models

Back to Repairing Rustik


Airfield Models (http://www.airfieldmodels.com/)Finishing the Rustik Repair

This is the last part of an article detailing the repair of Rustik due to damage from a screen blowing out of a window and through the plane.

The repair is now complete except for sanding and finishing.


Finishing the Plug

Tape is used for protection when sanding. Painter's tape (low tack masking tape) is placed around the hole and on the fuselage side to protect the finish from sanding.

The tape on the fuselage is there in case I bump the fuselage with the sanding block.

The plug sanded flush with the stabilizer sheeting. The plug is sanded flush with the stabilizer skin.
A piece of fiberglass cloth is cut slightly larger than the plug. The plug is fiberglassed using the same cloth and resin as was originally used.
After the resin is dry, the edges of the fiberglass are feathered. The resin is cured and the edge of the cloth is feathered into the rest of the finish.
The plug receives a couple coats of polyurethane and the repair is complete. A couple coats of brushed on polyurethane finish the job.  Unfortunately, the edge of the cloth can be seen which bothers me.  That can be fixed with more sanding.

I've noticed that polyurethane over fiberglass finishes darken with time.  I have a set of floats with the same finish that is about 20 years old.  The wood is much darker than it was when the floats were first built.

The color should start to match better as time passes, but as of this writing the plug is still much lighter than the surrounding wood.

The entire repair took less than two hours over a period of two days.  Even though the plane isn't in mint condition any more, I'm glad it has been removed from my list of things to do.

I doubt any of my scales are accurate enough to pick up a weight difference between now and before the model was damaged.  Nothing has changed aerodynamically either, so from a flight standpoint the aircraft is as good as new.


Previous —
Next —

Making a Plug
Repairing Thwing!

Comments about this article


Back to Repairing Rustik
Airfield Models Home


Copyright © 2004 Paul K. Johnson