 |
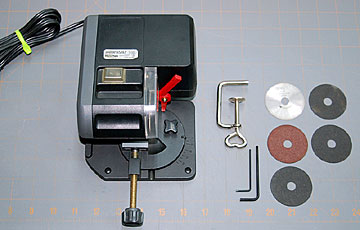
Always unplug the saw before you remove or change a blade!
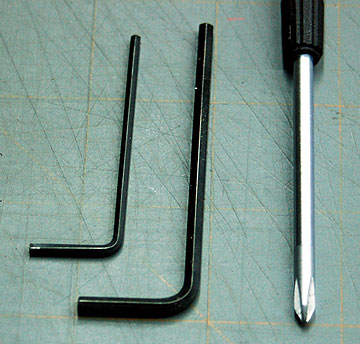
Changing the
blade in this tool is very fast and simple. These are the only tools
needed to change the blade. |
 |
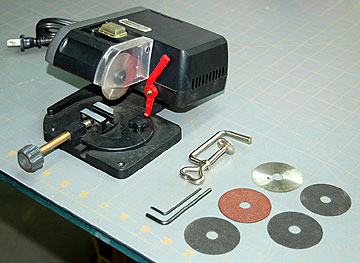
Again, be sure the saw is unplugged
before you attempt to change or remove a blade.
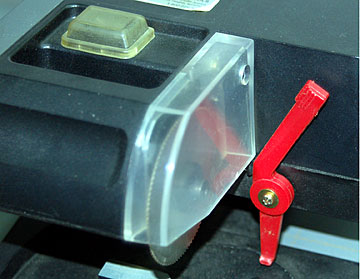
Use the small Phillips screwdriver to
remove the sheet metal
screw that retains the
protective blade cover. If the screw falls off the end of the screwdriver
it will land on the base of the tool where it is easily
retrieved.
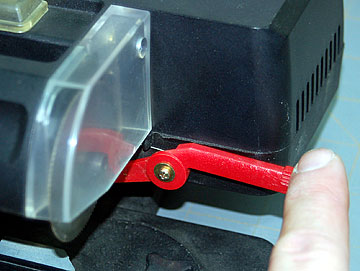
Removing and
replacing this screw is easiest to accomplish by moving the safety lever
out of the way. |
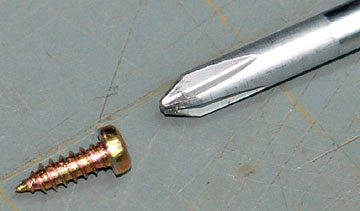 |
This is a relatively
small screw and is metric so don’t lose it. |
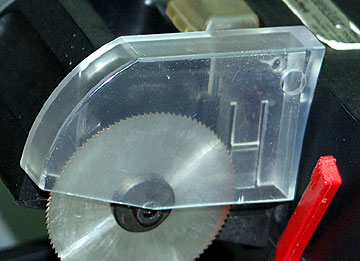 |
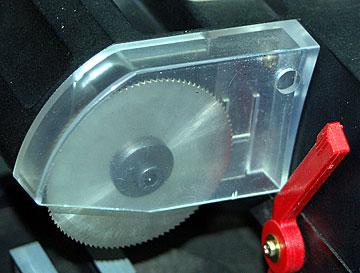
Slide the
protective blade cover straight up to remove it. |
 |
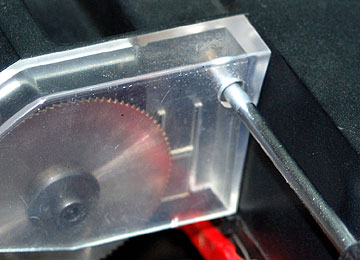
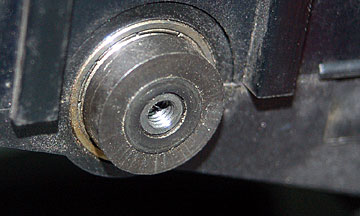
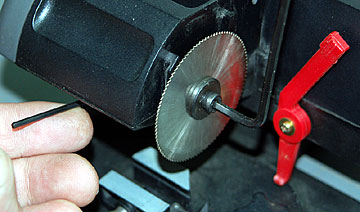
There is a small hole near the
center of the underside of the saw head.
Insert the
small hex key into this hole. Turn the saw blade slowly by hand until
the hex key engages the drive shaft which will prevent the blade
from turning when you loosen or tighten the blade retaining bolt. |
 |
When the hex key has
engaged the shaft, use the larger hex key to remove the blade retaining
bolt. |
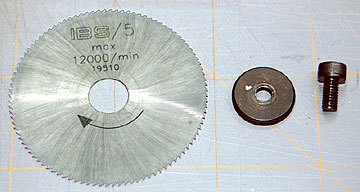 |
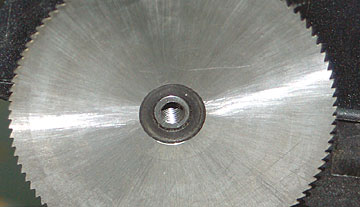
The blade, blade
washer and retaining screw. Again, this hardware is metric. Don’t lose
it. That doesn't mean to say that it's ok to lose hardware that's
not metric. The point being, don't lose parts to your stuff when you
take it apart. |
 |
The drive washer
has a shoulder on both sides. This is important to note because all
blades and cut-off wheels that can be used with this saw are not the same
thickness. |
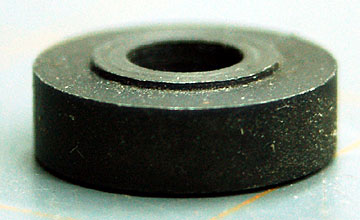 |
This side of the drive washer has a taller
shoulder and should be used for thicker blades.
When mounting a
blade or cut-off wheel, always be sure that the shoulder does not come all
the way through the blade which will prevent the blade washer from tightening the saw blade safely. |
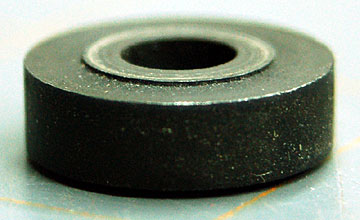 |
This side of the
drive washer has a shorter shoulder and is for thinner blades. |
 |
After determining the proper side of the drive
washer to use, put the drive washer back on the drive shaft.
Place the blade on the
drive washer. Note the direction of the blade teeth.
The teeth should throw saw dust toward the back of the
saw away from you. |
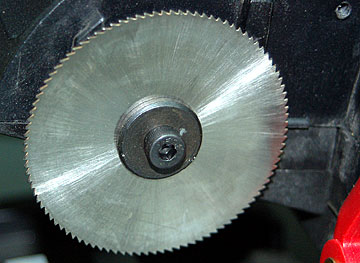 |
Ensure the blade remains on the drive
washer with the shoulder positively engaged in the center hole of the blade.
Place the blade
washer over the bolt. Hand thread the bolt in place while holding
the blade. |
 |
Use the small hex key again to engage the
drive shaft through the bottom of the saw head.
Tighten the blade
securely. |
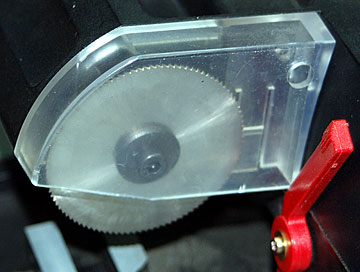 |
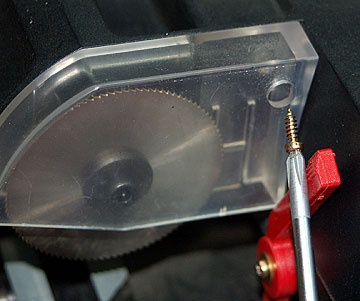
Slide the protective
blade cover back into place. Be sure it is fully seated so that the hole
for the retaining screw is aligned with the hole in the saw head. |
 |
The best way to replace this screw is to
use a Phillips screwdriver that fits the screw head well enough that the
screw doesn’t fall off easily.
It’s also easiest to replace the screw with
the safety lever moved down and out of the way.
Thread the screw and driver through the
outer hole and start the screw in the inner hole. If you’re as
uncoordinated as I am you may drop the screw a half dozen times before you’re successful.
You can hold the
saw over you head sideways so you can put the screw straight into place,
but that’s not as much fun as all the swearing you get to do after you’ve
dropped it for the seventh time. |
 |
Thread the safety cover retaining screw
until it is just snug. Don’t over-tighten this screw or you will strip
the plastic in the saw head.
The saw is now
fully assembled and ready to use. |