|
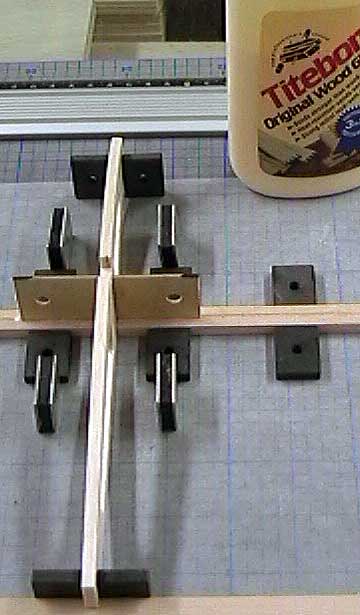
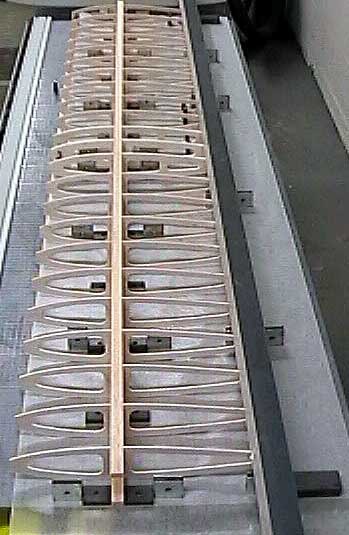
Glue is placed in the spar slot of each rib
using a toothpick, popsicle stick or small spatula. A thin bead of glue is run down the groove of the top spar.
The spar is carefully pushed in place starting at the center and working
toward the
tips.
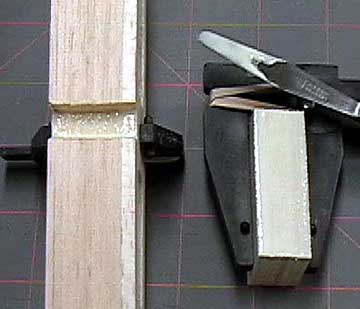
The
glue swells the wood slightly making the fit tighter so the spar will not
slide in place as easily as it did when you dry fit the parts.
Do not try to push the spar all the way down
in one shot. Instead, work your way back and forth along the wing
pushing it a little way into each rib until it is fully seated.
If you push it in all at once then the spar
can push the ribs on either side of it out slightly. In other
words adjacent ribs will cant away from the rib you pushed the spar into.
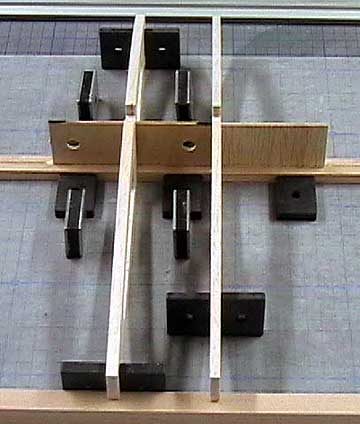
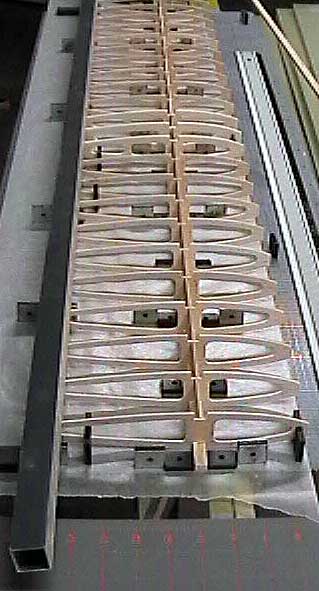
In this case the fit is excellent so no
clamps or pins are necessary. Be sure the wing remains flat on
the board. A small amount of weight, such as magazines, will
hold the wing down. Weight
wasn't necessary here because the wing stayed flat on the board but it
wouldn't hurt to use some anyway. This step took 4 minutes.
Elapsed time 32 minutes. |