 |
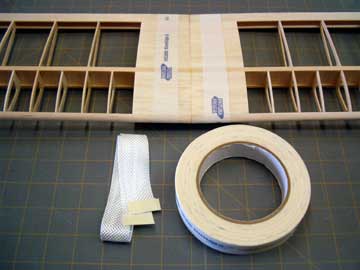
Fiberglass tape is readily available in various widths through the hobby
industry. Use the width recommended
by the kit manufacturer. If in doubt, use wider tape. Wrap the tape around the center to
get a rough measurement. Give yourself some extra length to make it
easier to work with.
A piece of masking tape wrapped around the tape will prevent fraying.
The tape can be cut with scissors. |
 |
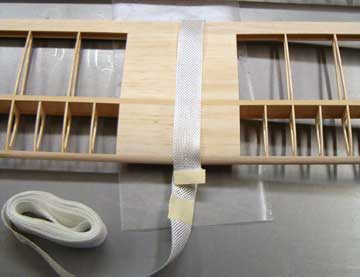
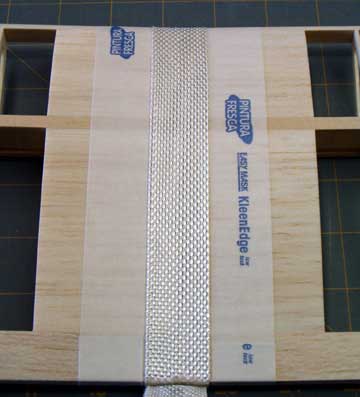
Measure half the width of the tape onto both wing panels.
Wrap low-tack masking tape around the wing. The masking tape
serves two purposes.
- Makes it easy to keep the
fiberglass tape centered.
- Keeps the epoxy from making an ugly, difficult to sand
mess.
|
 |
Use thin
cyanoacrylate (CA) to tack the fiberglass to the
trailing edge and only the trailing edge of the wing. Using a
sharp razor blade or a sanding block, remove the excess fiberglass tape. |
 |
Wrap the fiberglass tape around the wing, pull it taut
and tack the other end. Do not pull the tape so tight that the
weave is distorted. Trim off the excess.
Note that if the wing has a large amount of dihedral it is sometimes
easier to use individual pieces of tape on the top and bottom of the
wing to prevent wrinkles. |
 |
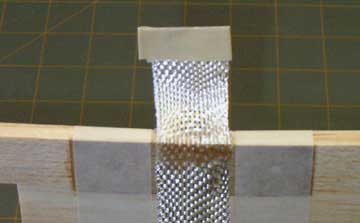
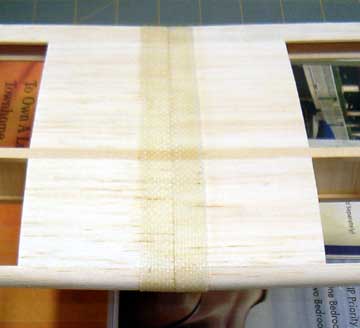
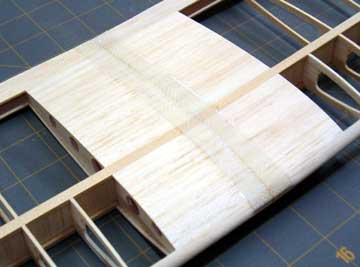
The tape is centered and snug. |
 |
Mix up some slow-cure
epoxy and brush it on the tape
using an
acid brush (also called epoxy brushes). I like to use
laminating epoxy because its thin viscosity saturates the cloth faster
and more easily. Regular epoxy glue can be used instead.
Work the epoxy until it fully saturates the cloth. If the glue
doesn't saturate the cloth then the wing joint will be weak which can
result in catastrophic failure of the wing in flight.
If it is too difficult to get the epoxy to saturate the cloth, you
can warm it with a hair dryer which will make the epoxy watery thin.
Never thin epoxy!
Heat will
also cause the epoxy to begin setting up sooner so ensure the entire
tape is coated with epoxy before you warm it.
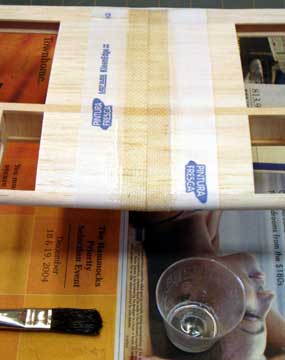
The wing is shown suspended above the table because both the top and
bottom of the wing were fiberglassed in the same operation.
|
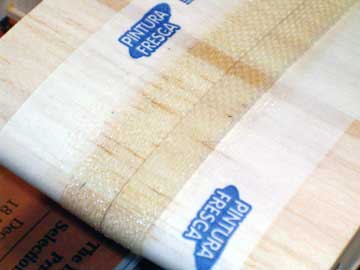 |
Here you can see how the tape should look when the epoxy has properly
penetrated the weave. |
 |
Remove the masking tape before the epoxy sets up. |
 |
Wrap low-tack masking tape around the wing after the epoxy has fully
cured. The tape is to shield the bare balsa from the coarse
sandpaper. Low tack tape is used because sanding will cause the tape to have a stronger bond. If regular
masking tape is used it can actually damage the bare balsa when the
tape is removed.
Fiberglass tape has a finished edge to prevent it from fraying.
This edge is thicker than the rest of the tape.
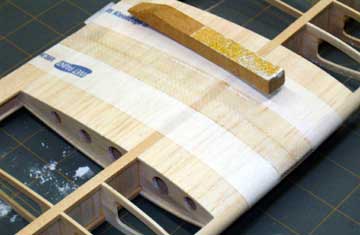
Use coarse
sandpaper on a small
sanding block to feather the edge of the
fiberglass. Avoid sanding into the cloth everywhere except the
edge. Especially avoid the center of the underside of the wing
where the most strength is needed and it is easy to sand into the cloth. |
 |
A little more sanding is needed if I want the edge of the tape to be
invisible under the covering. This wing is mounted to the
underside of the fuselage and the tape will not be seen.
I spent more time feathering the tape on the underside of the wing which
is visible but stopped here on the top of the wing. |
The wing panels are now permanently joined and properly aligned.
Hopefully this series of articles has demonstrated the importance of joining
the wings properly while also showing that it is a matter of patience and
technique but not a mysterious skill possessed only by expert model
builders.

