Building
the
Thunder Tiger Raptor 30 V2 Helicopter — Step Nine
Step Nine
— Engine Assembly
This step is on page 10 of the Instruction Manual.
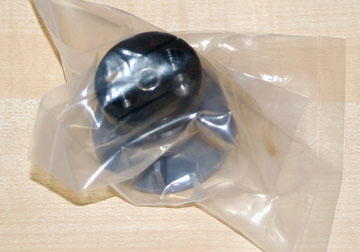
Parts bag for this assembly.
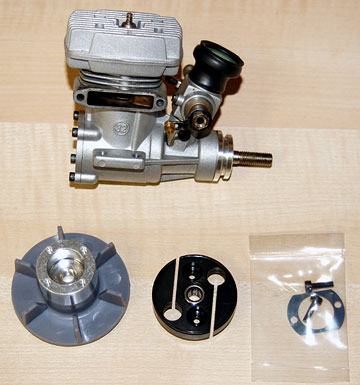
Parts needed for engine assembly.
If your engine needs a throttle extension you should go ahead and
add it to the engine now.
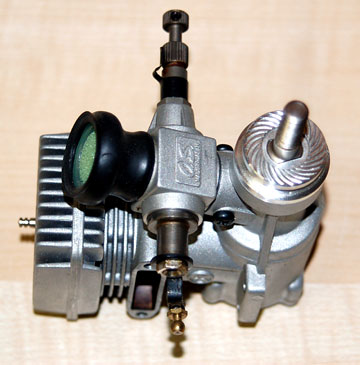
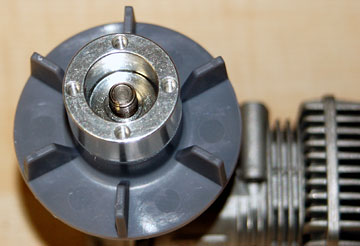
The O.S. .32 helicopter engine comes with a thrust
washer which I think is a nice touch. The thrust washer allows
you to mount the engine on a test stand and run it with a propeller.
The benefit is that you can get the needles roughly set and ensure the
engine works properly before mounting it in your heli.
Many helicopter engines do not come with a thrust washer which means
you have no choice but to adjust the engine in the helicopter from the
beginning.
The thrust washer must be removed. Put it someplace
where you can find it if you ever need it again (which I did). The
box the engine came in is a good place.
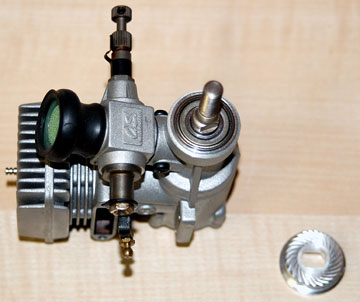
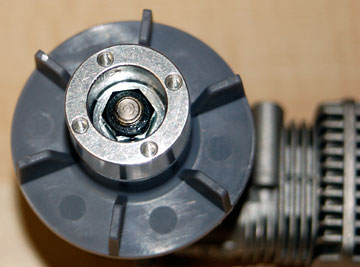
Clean the crankshaft threads and the cooling fan
threads with alcohol.
Apply Loctite only to the fan threads and
thread the fan onto the crankshaft. The reason you apply Loctite to
the fan threads only is so that the Loctite goes into the fan and not into
the engine front bearing.
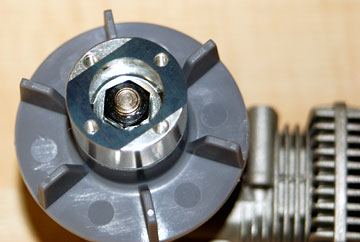
There is a tool you can buy that threads into the glow plug hole on the
engine and prevents the engine from turning over so you can tighten the
fan. I don't like the idea of that much as I don't think the engine
is designed for that kind of load. I remove the carburetor, place
the largest dowel that will fit inside and tighten the fan with a rag
wrapped around it.
Apply Loctite to the crankshaft threads and the propeller
nut. Tighten the nut securely using a socket wrench.
Add the shim to the cooling fan. Align the
holes in the shim with the holes in the cooling fan.
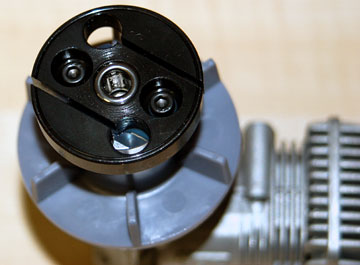
Place the clutch shoe on the cooling fan. Align the
holes in the clutch shoe with the holes in the shim and cooling fan.
Apply Loctite to the socket head bolts and tighten the clutch securely.