|
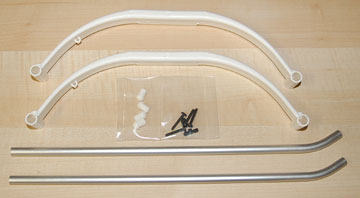
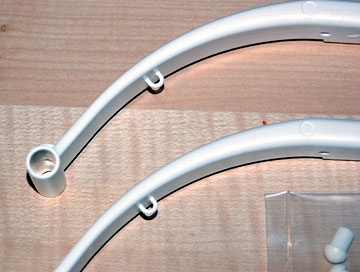
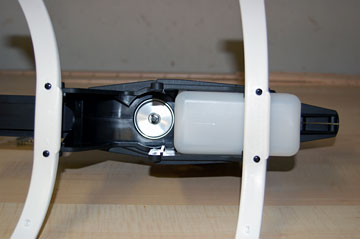
Bolt the braces to the bottom of the heli. The gear
is angled forward. After these four screws are tightened, insert
the skids (pipes). Rotate them until the forward curved portion is
vertical. Adjust them fore to aft so they are in the same location
(roughly centered around the braces) and then tighten the set screws.
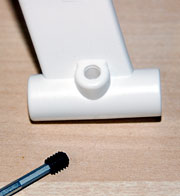
I used medium
CA to glue the skid pipe end caps in place. I popped them in
with a piece of hardwood to get them in quickly before the glue set up
leaving them half in and half out of the pipes. |