Building
the
Thunder Tiger Raptor 30 V2 Helicopter — Step Eighteen
Step Eighteen
— Receiver/Gyro Installation
This step is on page 15 of the Instruction Manual.
Although this step includes mounting the receiver switch, for
simplicity we mounted it in the
last step.
The instructions indicate that you should mount the
receiver, receiver battery and gyro amplifier using foam mounting tape.
I think that is a really bad idea — particularly if you are a new heli
pilot.
The tape doesn't absorb much vibration and it offers no protection at
all to your equipment if you crash.
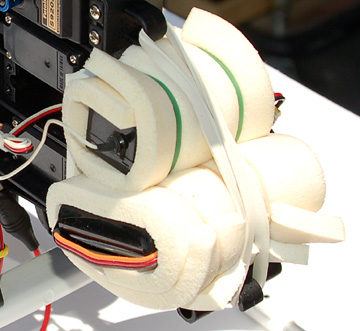
Do yourself a favor and wrap lots of latex foam rubber around your
onboard gear to protect it.
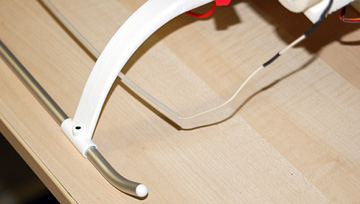
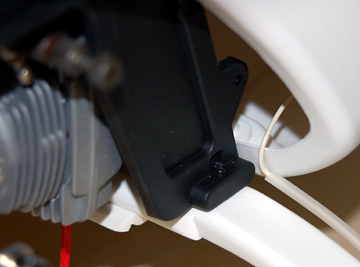
Insert the antenna tube into the molded in clips under the
right side of the landing gear.
Note that the antenna rubs against the edge of the
canopy.
This is really bad. The last thing we want to do is saw off the
antenna.
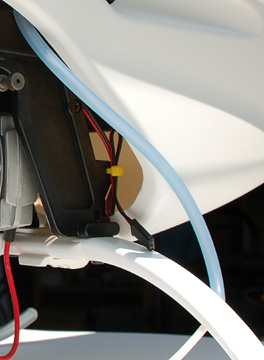
I used a piece of fuel tube attached to the end of the
antenna tube to lengthen it.
The other end of the fuel tube was
forced into one of the unused radio wire clips.
The antenna is protected by the fuel tubing. If the
tubing starts to wear through all you have to do is replace it.
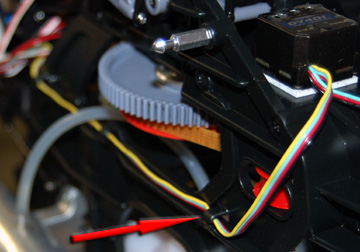
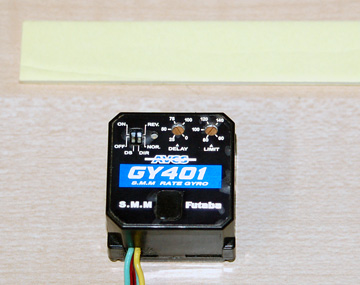
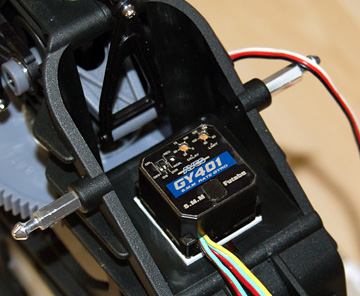
This is normally where the tail rotor gyro will mount.
Clean the area thoroughly with alcohol. Be meticulous. If the
gyro comes loose in flight your helicopter will spin wildly out of control
and crash.
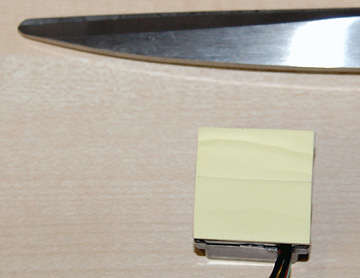
The gyro is attached using either the foam mounting tape
included with the gyro (preferred) or the foam mounting tape included with
the helicopter.
Clean the bottom of the gyro with alcohol. Again, be
sure it is really clean. Be careful not to get alcohol inside the
gyro case.
Attach the foam tape and trim it to size.
Remove the paper backing from the foam tape and press the
gyro firmly in place.
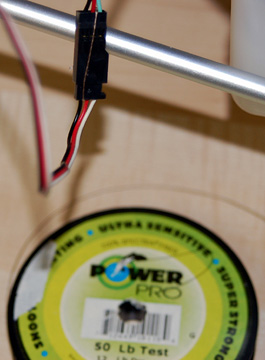
The
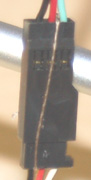
rudder servo plugs into the gyro. Secure the plugs using tape or a
strong thread such as dental floss or fishing line.
Do the same
thing for the plug from the battery to the receiver switch.
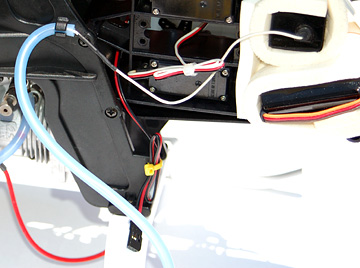
Run the gyro wire back to the receiver using the molded in
clips to secure it and keep it away from the helicopter mechanics.
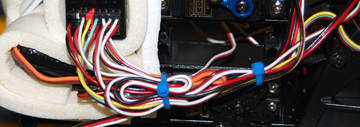
When everything is plugged in, neaten up the wiring using
zip ties to keep them away from servo linkages and mechanics. Don't
strain the wires or plugs.


 The
rudder servo plugs into the gyro. Secure the plugs using tape or a
strong thread such as dental floss or fishing line.
The
rudder servo plugs into the gyro. Secure the plugs using tape or a
strong thread such as dental floss or fishing line.