Thunder Tiger Raptor 30 V2

Thunder Tiger Raptor 30 Radio Control Helicopter

December 18, 2021


Home
About
What's New
History
Models Gallery
Model Building Safety
Articles
Mail & FAQ
Site Map
Site Feedback
Contact
Add to Favorites
Comments
Search Airfield Models

Back to Raptor V2


Airfield Models (http://www.airfieldmodels.com/)Building the Thunder Tiger Raptor 30 V2 Helicopter Step Twelve


Step Twelve Main Frame Assembly - Part 5

  • This step is on page 12 of the Instruction Manual.
 
Parts bag for this assembly. Parts bag for this assembly.
Canopy retaining post and set screw. Canopy retaining post and set screw.
Apply Loctite inside the canopy retaining post and thread in the set screw. Apply Loctite inside the canopy retaining post and thread in the set screw.
Thread the assembly into the main frame just behind and above the main gears. Thread the assembly into the main frame just behind and above the main gears.
Slide the main rotor hub on the main shaft and bolt it in place. Slide the main rotor hub on the main shaft.  Be sure to align the pins in the main rotor hub with the washout base in the washout assembly.

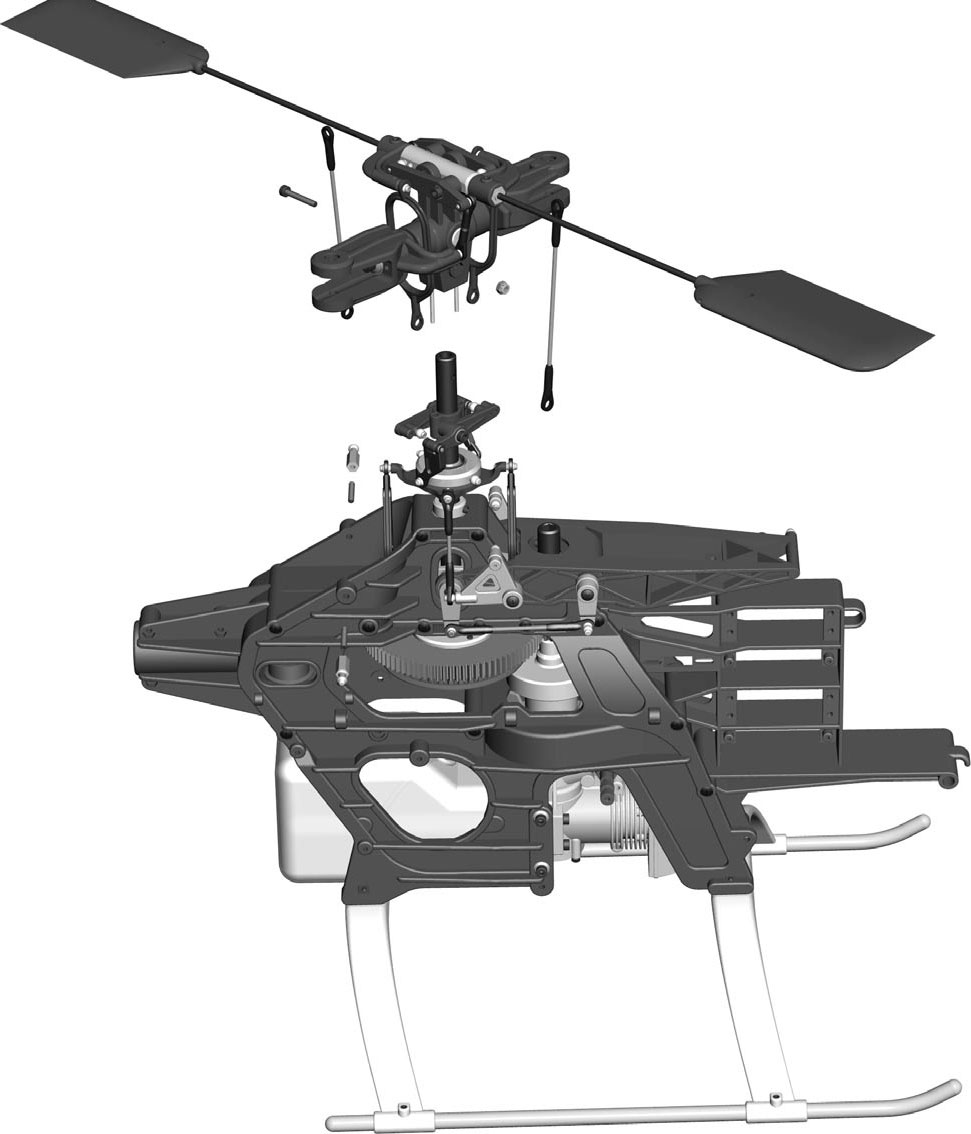
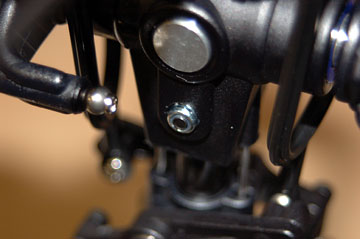
Bolt the hub to the main shaft using the socket bolt and lock nut.

Make two 100 mm pushrods. Make two 100 mm pushrods.
Connect the pushrods to the mixing levers and the swashplate. Connect the pushrods to the mixing levers and the swashplate in the locations shown.


Previous —
Next —

Building the Raptor 30 V2 Helicopter - Step 11
Building the Raptor 30 V2 Helicopter - Step 13

Comments about this article


Back to Thunder Tiger Raptor 30 V2
Airfield Models Home


Copyright © 2006 Paul K. Johnson