 |
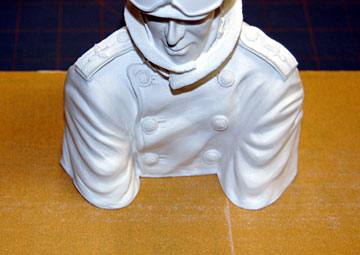
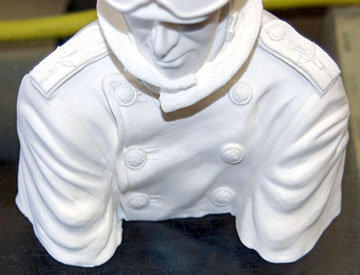
The bottom of the pilot needs to be removed so that a more
substantial base can be added. |
 |
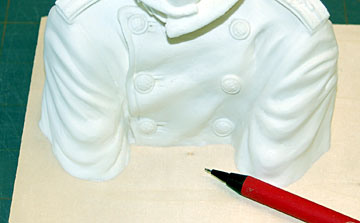
The best way is to sand it off.
Be careful when sanding to prevent chipping the edges when the base is
sanded through. In most cases it will let go in some areas before
others which leaves those areas more vulnerable.
To sand evenly, rotate the pilot every so often. If you
sand with more force on one edge than the other it will be more even.
Caution! Don't sand the bust at an angle to make the pilot look like he's
leaning. It doesn't work that way. He'll look awkwardly tilted — not leaned.
Shoulders stay fairly level and the head is mostly vertical when a person leans. Ask someone to sit across from you and lean as if they're trying to look
around you to see something. Note how they look. Don't mention the shoulder thing to them until after you've made
your observation. |
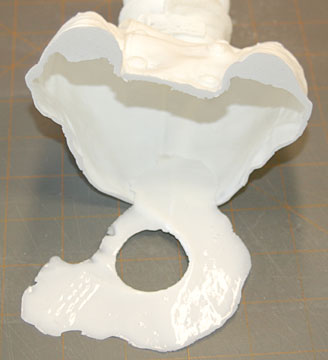 |
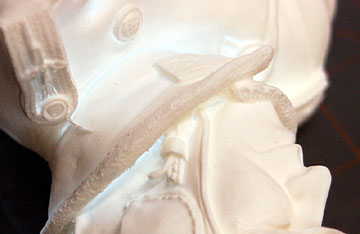
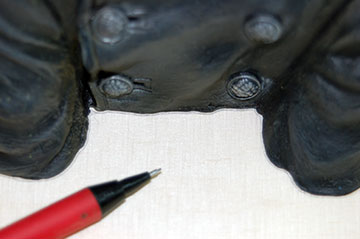
I managed to chip part of the back of the pilot. It's
covered in this photo but is bad enough that it will need to be filled.
Clean up the inside edges by scraping with a knife. Just remove the
flash and then stop. |
 |
Place the bust on a piece of 1/8"
lite ply. This will
be the base glued into the bust. |
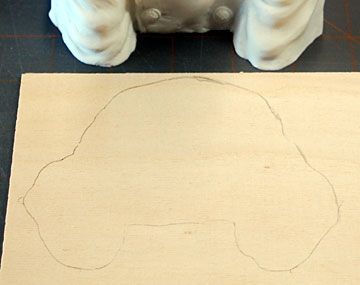 |
Trace around the bust being careful not to distort the bust
while doing so. The wall thickness at the base is minimal and can be
deformed by the pencil as you trace around it. |
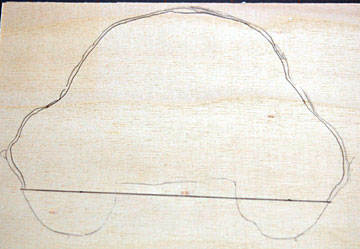 |
Make a second line inside to adjust for the wall thickness.
The wall thickness is not uniform all the way around so there's some trial
and error work here.
Use a hobby knife, scroll saw or coping saw to cut along
the inside line. |
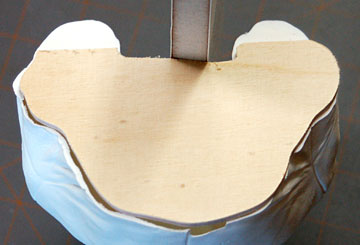 |
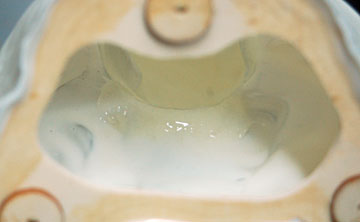
Check the piece on the bust to see where
adjustments need to be made. You can see where the casting is paper thin
in the back and chipped when the bottom was being sanded off. |
 |
Mark the areas with pencil. Trim excess wood away
using a sanding drum in a Dremel or
sandpaper wrapped around a dowel. |
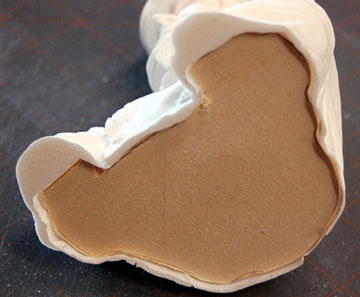 |
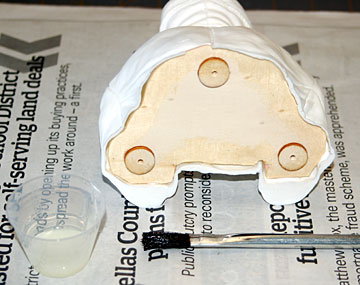
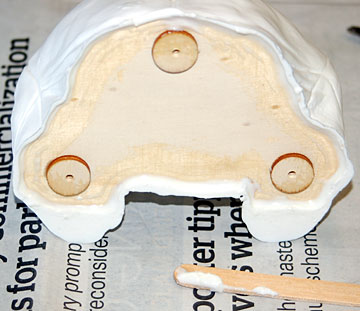
After several fittings the plywood base drops into place. |
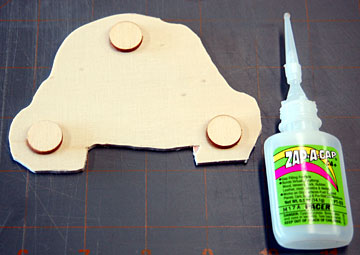 |
Glue some 1/8" reinforcing pieces on the base to thread
studs into. I used knock outs from lite ply ribs. |
 |
Drill for whatever tap you will use. I am going to
use 6-32 nylon bolts. |
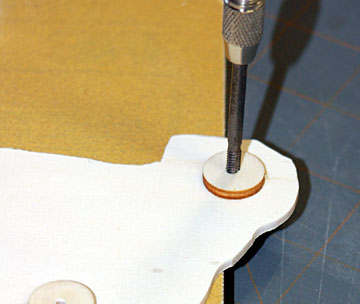 |
Tap for the bolts. You want to do this type work
before the base is glued into the pilot so that you don't risk damaging
the pilot. Lite ply doesn't hold a thread very well so I hardened
the threads with some thin CA. |
 |
Put the base on something flat with the reinforcing pieces
down. |
 |
Clean the base of the pilot thoroughly where it will be glued to the base. I went ahead and
washed the pilot using warm water and
tri-sodium phosphate to get all the dust and oil off the pilot. It
will need to be cleaned again before
painting.
Place the pilot over the base. |
 |
Because my workbench is glass, I can see if the base is
flat on the table. Gently squeeze the pilot to grip the base.
Pick up the pilot being careful not to let the base shift. Put a few drops of CA in places where the base contacts the pilot.
Let the CA cure before releasing the pilot. Spritz a little
accelerator to speed things up.
You don't need a lot of CA. It's just to spot the base and
prevent it from moving. |
 |
Allow the CA to fully cure before this step.
Mix up some 30 minute epoxy. Brush the epoxy on the
base around the perimeter and inside the bust. |
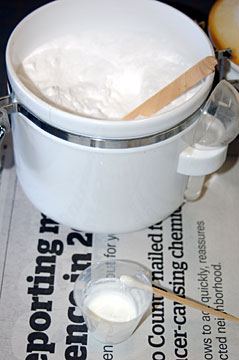 |
Mix some micro-balloons into the same batch of epoxy. |
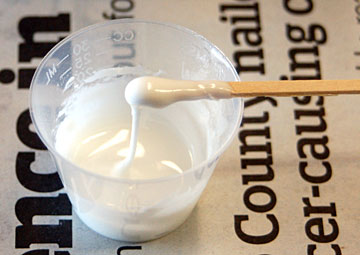 |
The micro-balloons should be about the consistency of
peanut butter. You don't want to use any more micro-balloons than
necessary because they weaken the epoxy. The idea is to add just
enough micro-balloons to prevent the epoxy from running. |
 |
Spread the paste around the base and inside the bust to
create a fillet. I repaired the chipped base of the bust with the same batch of micro-balloons. I made
it oversize and then filed and sanded it after the resin was fully cured. The base will be as strong as
it's going to get.
It's not going to come loose without destroying the bust.
When the epoxy is fully cured, sand the base flat again ensuring that the plywood sits on the bench without
distorting or stressing the bust.
At this point you can do whatever clean-up work is necessary on the
rest of the pilot to prepare it for paint. That means removing flash, filling or sanding
away imperfections, etc. |
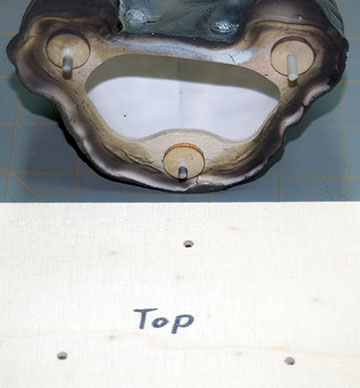 |
Normally I use the base plate that is glued inside the pilot to locate the mounting holes in the
model before I glue the base plate into the pilot bust. In this case I have been commissioned to paint
the pilot but I'm not building the model. I made a template for the builder to use to locate the mounting
holes so he won't have to measure the pilot.
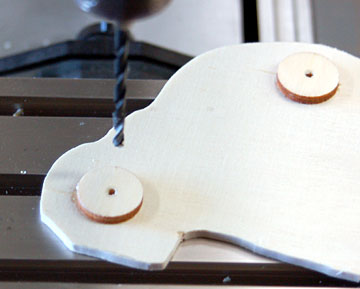
Before the base was glued in the pilot I used it to drill holes in a piece of lite ply that will be the
template. |
 |
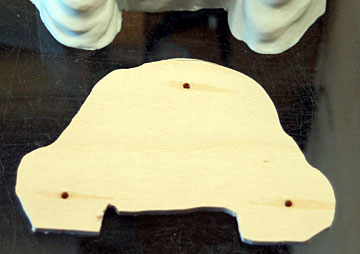
Insert studs into the pilot base or just bolt it to the template. Trace around it. |
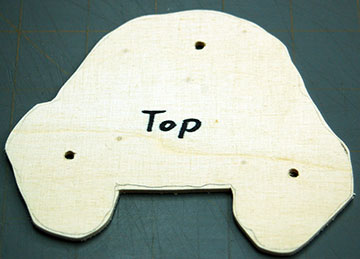 |
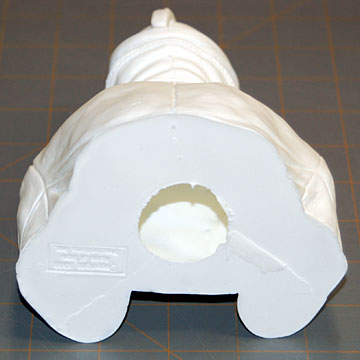
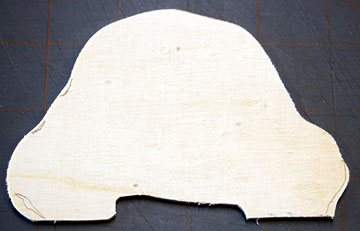
Cut it out and there's your template. I cut a little oversize to give the builder some wiggle
room. |