Blades
 Many people believe that a sharp blade is more dangerous
than a dull one. This is absolutely untrue. A sharp blade is much more likely to cut where you
want it to. Many people believe that a sharp blade is more dangerous
than a dull one. This is absolutely untrue. A sharp blade is much more likely to cut where you
want it to.
A dull blade requires more force and is more likely to jump
out of the cut (slip). It is when a blade slips that you are most likely
to receive a deep razor cut.
I use dull blades for things like scrapping flash from plastic or cutting
sandpaper to size where I am not cutting in a direction that would cause the
blade to cut me if it were to slip.
Change blades frequently because a sharp blade is less
dangerous and simply works better. If you have two handles, you can keep a
dull blade in one and a sharp blade in the other.
There is nothing I have found that is sharper than double-edge razor blades.
But holding a double-edge blade free-hand is dangerous so I don't recommend that
you use them except in tools specifically designed to hold them such as razor
planes.
Single edge razor blades are the next sharpest blade to a double-edge
blade. They are the primary tool I use for cutting and trimming covering
and thin sheeting (3/32" or less thick). A box of 100
blades purchased from your local hardware store should last at least a couple years.
Use a new blade when trimming covering because the last thing you want is a dull
blade to get caught on the covering and tear it. Single edge blades are
also great for picking up small thin parts such as washers that get dropped on
the floor.
I do not
use knives for cutting parts from
sprue because they are as prone to damaging the part as cutting it cleanly. Instead I use a
despruing tweezer (Micro-Mark catalog #82393) that is also an
excellent tool. It is built like a tweezer with a very sharp flush nipper.
Round Olfa cutters are razor sharp. The first time I tried to used this tool to cut
covering the cutter had a mind of it is own. Even though I was
using a thick straight edge the cut was anything but straight. I managed
to give myself a nice cut by rolling it straight over one of my fingers.
Other people I have talked to have said they love it
so obviously I am doing something wrong. If for any reason you need to
remove a thick layer of skin from your hand this tool would probably a good
choice.
I've since gotten it under control and find it to be excellent for cutting covering material and fiberglass cloth.
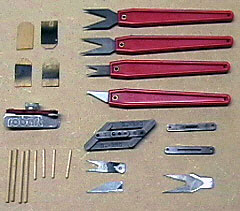
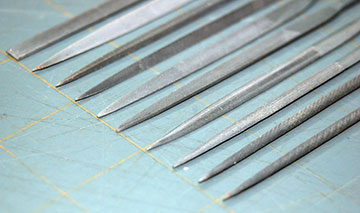
It took me years to discover how useful chisel blades are. The problem I was having was that I was using them
upside down so instead of chiseling they were gouging. I use chisel blades so much now that I have three handles
that have different size chisel blades in them.
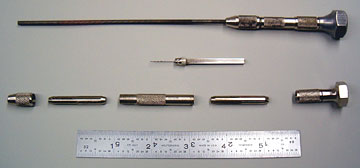
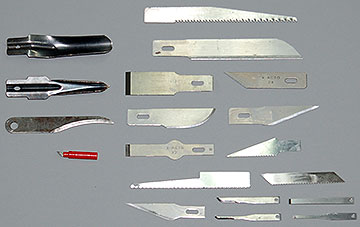
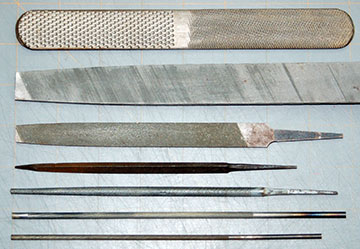
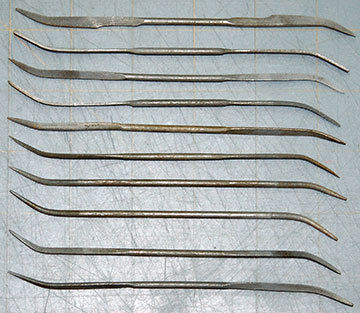
If you look closely at the photo above there are three straight chisel blades. The smallest is in the lower right
hand corner and mounts in the micro knife handle in the next photo.
Also useful is the #11 saw blade. I'm not sure of the actual blade number but it's the same shape as a #11 blade
and has teeth instead of a razor edge. This saw is useful for a lot of tasks. I bought a pair of them and
they're both still in good condition after having them for years. Even though I don't use them often they have
come to the rescue many times when no other blade would have done the job as well.
Sharpening Razor Blades
Every time I have tried to sharpen any type of hobby blade I have failed
miserably. There are a variety of devices that have come and gone over the
years and none of the ones I tried actually worked. The one that seemed
the most promising looked like an electric pencil sharpener. It was made
to sharpen #11 blades in a #1 handle. It didn't work either.
I've tried very fine stones, my disk sander at low speed with fine paper, etc.,
etc. Blades are so inexpensive that unless you have a foolproof method of
sharpening that takes a minute or less, it is easier to just dispose of the old
blade and use a new one.
|


 When I was a kid our home sported a central vacuum system that consisted of a hose with
outlets all over our home. I vacuumed a #11 blade and it got caught in the
hose.
When I was a kid our home sported a central vacuum system that consisted of a hose with
outlets all over our home. I vacuumed a #11 blade and it got caught in the
hose.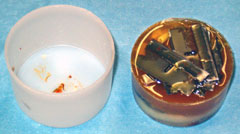 A good suggestion I received is to keep an old sour cream or yogurt container
handy. Put old blades in the container and pour leftover epoxy in the
container. I have started doing this and it has a nice side-benefit.
A good suggestion I received is to keep an old sour cream or yogurt container
handy. Put old blades in the container and pour leftover epoxy in the
container. I have started doing this and it has a nice side-benefit.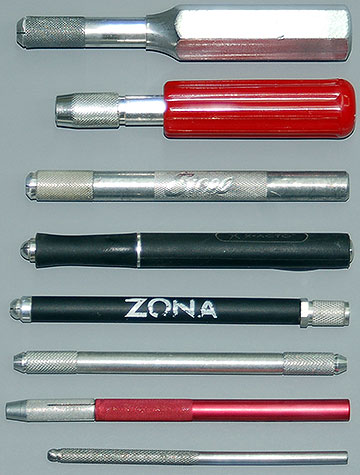
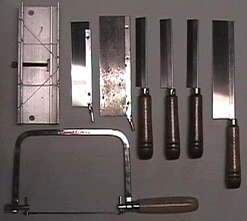 I
suggest you purchase at least one razor saw with your first kit. It will
make your building time much more enjoyable (or at least less miserable).
I
suggest you purchase at least one razor saw with your first kit. It will
make your building time much more enjoyable (or at least less miserable).
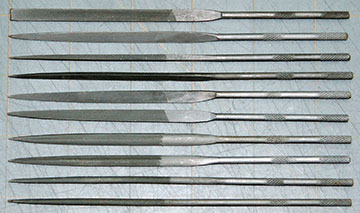

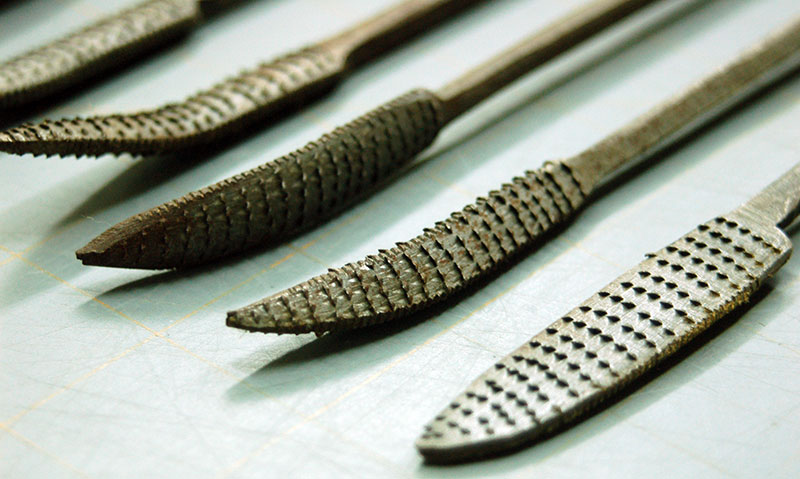
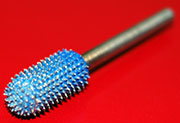 I bought a carbide toothed burr bit for my Dremel and it does what most of these do faster so I don't use these rasps as much
as I used to. Carbide burrs are expensive so I purchased one having the shape I thought would be most useful.
It is worth its weight in gold. It even tears away
I bought a carbide toothed burr bit for my Dremel and it does what most of these do faster so I don't use these rasps as much
as I used to. Carbide burrs are expensive so I purchased one having the shape I thought would be most useful.
It is worth its weight in gold. It even tears away