Painting the Wheels
Paints and tools used
-
The base coat of
Klass Kote epoxy was applied using an Aztec airbrush.
- Testor's Model Master Metalizer for the rims was applied with a
fillister brush.
- Testor's Model Master enamel for the grommets and spokes was applied
with a round #1 brush having a good point.
Before you apply the paint be sure to wipe the surfaces with a tack rag
to remove any dust or lint. Most dust that ends up in paint is already
on the surface or in the paint. I don't know of any paint strainers
small enough for the small quantities of paints we use in an airbrush but I've had no
problems so far.
I mix the paint thoroughly and then give it a few minutes for heavy stuff in
the paint to fall out and light stuff to float up.
To get paint into my airbrush I use a disposable pipette to draw paint from
the middle of the bottle. Don't draw paint from the bottom of a bottle
or you stand a good change of having to disassemble your spray tools to
remove paint clumps that are clogging them.
When I'm using a larger spray gun I use a regular hardware store paint
straining cone. I look in the cone every time after the paint has run
through and have yet to see anything left behind other than a thin coat of
paint.
Personally, I don't think paint is as dirty as it is claimed to be.
I've yet to see any real evidence. I suppose if you let paint dry
around the rim of the can and then chip it into the paint can when removing
the lid then you need to take better care of your paint cans. Clean
paint can rims and lids before closing them.
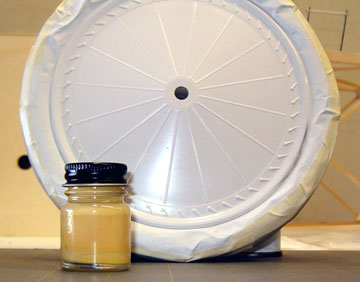 |
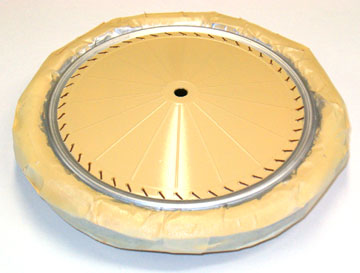
I wanted to paint these wheels a slightly gray cream
color. The first attempt was too yellow. This is the second
attempt. I mixed red and black to make a chocolate brown.
I also mixed some black and white to make a dark gray - probably about
70%.
I mixed these two colors together to make a gray-brown. The
bottle shown was filled about halfway with white. I added
gray-brown a couple drops at a time until the color was as dark as I
wanted. I then added a little yellow to arrive at the color shown
here.
|
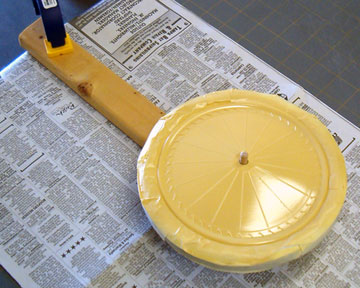 |
I sprayed the base color with an
Aztec airbrush and
allowed it to cure overnight. |
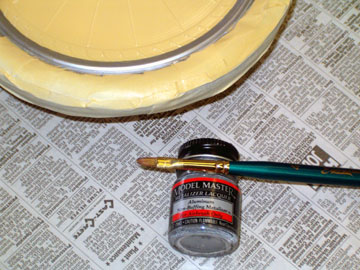 |
The rim is painted with Testor's Aluminum Metalizer paint
using a brush. Note that metalizers are intended to be sprayed
only. Because the rim is so narrow it looks fine but for a larger
area I wouldn't even consider brushing a Metalizer. |
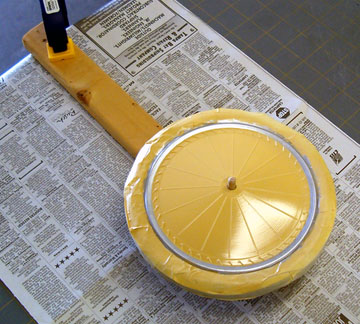 |
The jig didn't work very well for me. I used it for
the first rim of one wheel and then gave up on it. Maybe you'll
have better success with this method. My problem was that I didn't
find a way to brace myself well enough while turning the wheel with one
hand. |
 |
I spent about an hour and a half painting the grommets (Testor's
Gold) and the lacing (Testor's Model Master Leather) on all four sides. You will see
a more detailed photo in the next article in this series. These
details were applied with a round brush having a good, sharp point.
I wore
magnifying glasses with built-in lamps. They work extremely
well for me. Depth of field is narrow but for detail work that
usually isn't important.
|
I am pleased with the paint work but the wheels are too shiny, new
and look painted.
The task now is to blend it all together. When that is done we
will darken shadows and highlight highlights to make details pop out
while having a natural look. |

